 A slow week…
This week slowed down to a crawl as I’m in a bit of a waiting pattern for the next stages of the axle work. But I did work on some of the smaller items I purchased two weeks ago at the swap meet, and I continued (slow) work on restoring the original GPW hood.

After two weeks of lots of activity, this week ended up being a lot slower. I ended up being busy with other projects, and since the axle work is on hold, I only had a few minor things to work on.
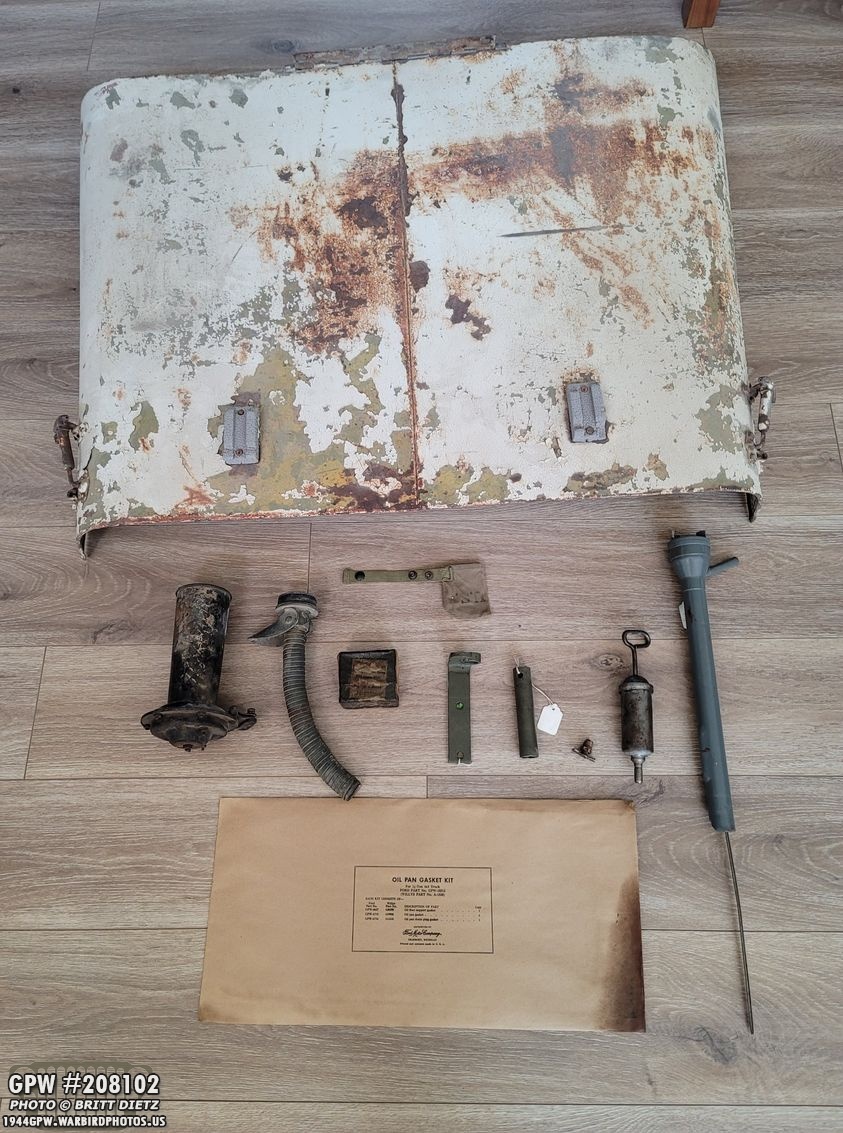
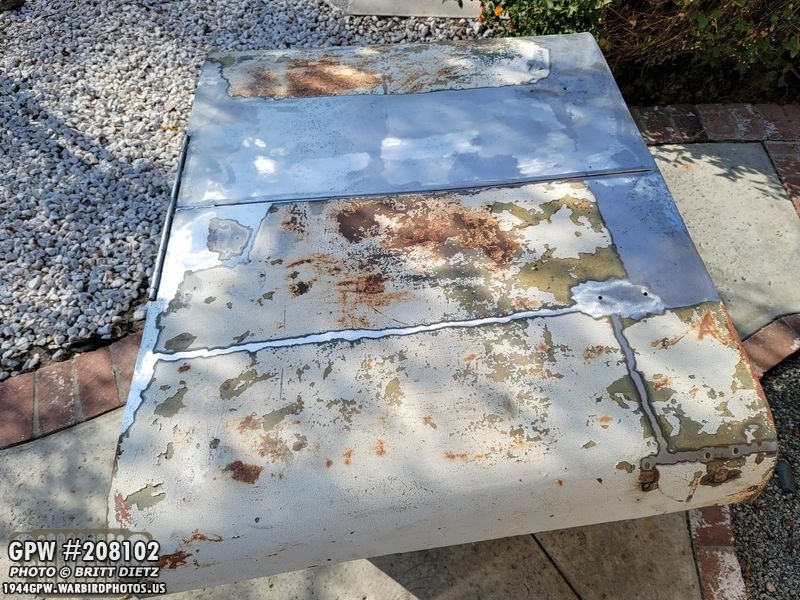
As a recap, two weeks ago I scored some awesome items for the Jeep at the SoCal Military Vehicles Collector’s Club rally/swap meet event. An original GPW hood and other various original items.

I started to clean up the jerry can nozzle and the Jeep tool bag grease gun. After wire wheeling both items, I put them in a bucket of gasoline… where I forgot about them for a week. Whoops. But, as you can see, they came out looking amazing. All the grease in the grease gun was dissolved away, and the residual paint on the jerry can nozzle was removed. So, win?

A quick slight sanding to the outside of the grease gun, and it looks nearly new!
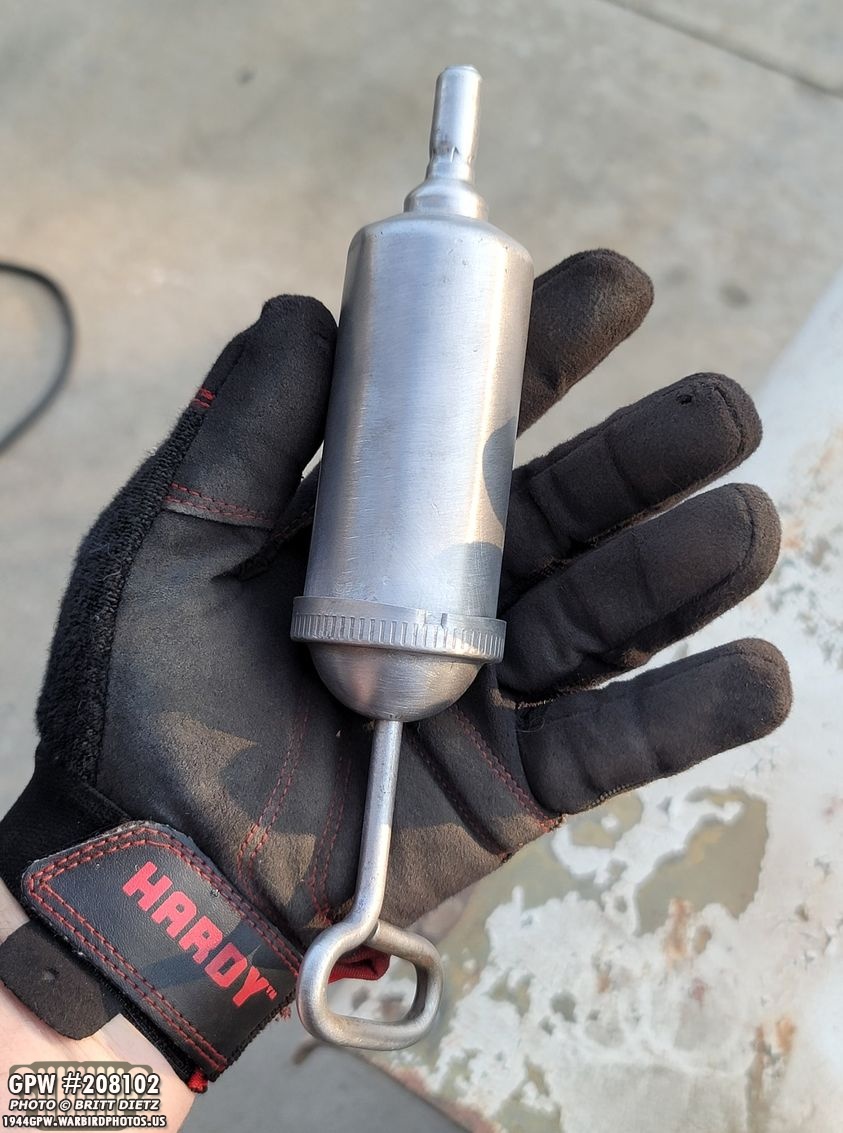
All cleaned, and soon I’ll be filling it with modern grease and putting it in the Jeep tool bag for on-the-go greasing, if ever needed.

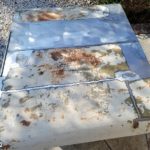
Moving on to the hood, a recap that my original hood was so warped and rusted, it was beyond repair with a permanent sag from people sitting on the hood. It will be wall art since I was able to recover my original factory numbers. I currently have a MD Juan repro hood on the Jeep, but I’ve been wanting another original GPW hood, which I was able to find two weeks ago. This is an early hood judging by the (what once were) rubber hood blocks among other signs.

This past week I started to clean it up, removing all the original hardware and starting to wire wheel sections to see what’s under the paint. The surface rusting is pretty minimal, mostly under things like the hardware.

The layers of paint are an interesting one… The top layer is this THICK white paint that seems to have gray underneath that. Below that is a dark primer, perhaps. Then you are at the WW2 paint, with two layers of OD Green (a light and dark), and finally the red oxide primer.
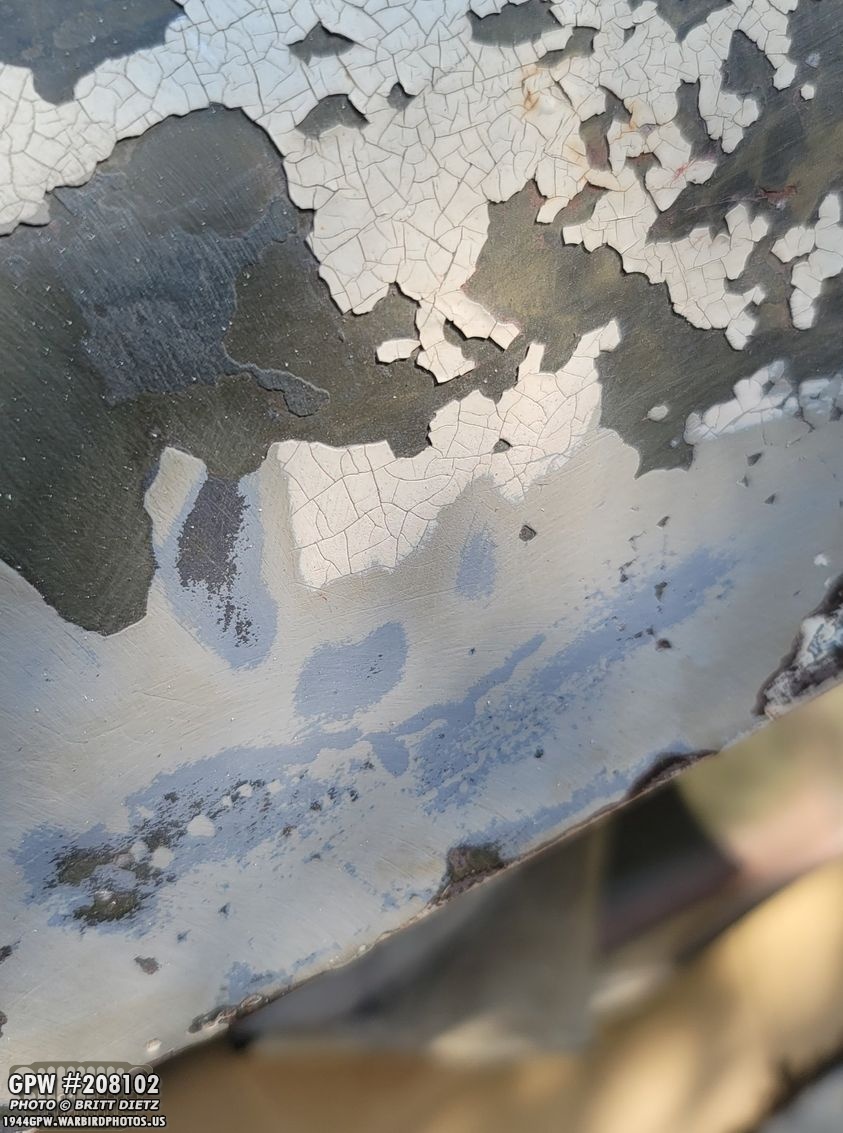
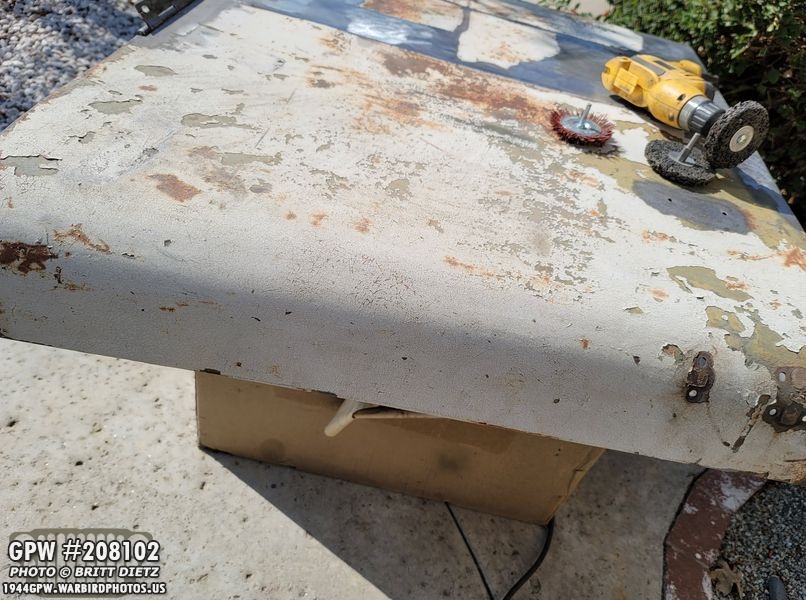
The top layer has proven to be a pain. It’s THICK, and flaking off in some places. I first tried to wet sand it with 120 sandpaper, but it just wouldn’t sand. I then tried professional paint stripper, and that literally did nothing, even after letting it sit for an hour! So I went out and got 60… wet sanding still had a minimal effect, so I dry sanded it, and still a very little effect. Whatever this paint is, it’s thick and tough. So, I used a scotch pad wheel, but it STILL wasn’t coming off. So I went to a nylon wire wheel, that seemed to finally cut through, but it took forever… and after it brakes through, it almost immediately goes through the WW2 paint layers and straight to the metal. UGH. An actual wire wheel makes it go faster, but again, you have to be super careful as it immediately goes down to the metal after getting through that top layer.

And that causes an issue in this are here, where I know there are original hood numbers. Because it’s not completely covered, I can’t really use any of the wire/nylon/scotch wheels. But the sanding won’t work as well. So I’m a bit stuck on this side. I’m only getting the original hood numbers for prosperity as I will be cleaning the entire hood to the metal and making it look new.

Getting frustrated, I went ahead and started to clear away the areas that I knew there wouldn’t be any markings. I used an abrasive wheel, which cut through it all rather fast. Underneath that’s nice metal with only slight surface rust.

You might be asking, why don’t you sandblast it? I don’t have a sandblaster that large, nor a portable sandblaster. The local sandblasting place I used to use (that did my grill, fenders, seats, etc) raised their prices a ton. So It’s just as easy for me to spend a few hours each day with the abrasive wheel cleaning it up. I find cutting the areas into sections, like this, helps make a goal for each day.

And even though the top looks crazy rusted (I checked, no star that I could see), the rust comes right off revealing nice metal.

Here’s after about an hour with the abrasive wheel on the drill. Nice clean metal!
I went ahead and split the other side into two sections for when I work on the hood next.

I did find that this hood has the dimples for the early style air deflector that would have been screwed onto the hood. When that part was dropped earlier on in the war, the hoods still retained those dimples since it was already in the jigs for the hoods. The red arrows point to the hood block holes.

So looking at this side of the hood, because the thick super-tough white paint is sporadic, flaking off, and thick… I’m thinking this side is a lost cause and I might not be able to recover any numbers. I might just have to say ‘is it really worth the effort?’ for this side and just remove all the paint.
The other side is much more solid with the paint, be it good or bad. I might shift my efforts and focus on trying to get numbers from just this side, but the white paint is still going to present me with problems. Anyone have any suggestions?
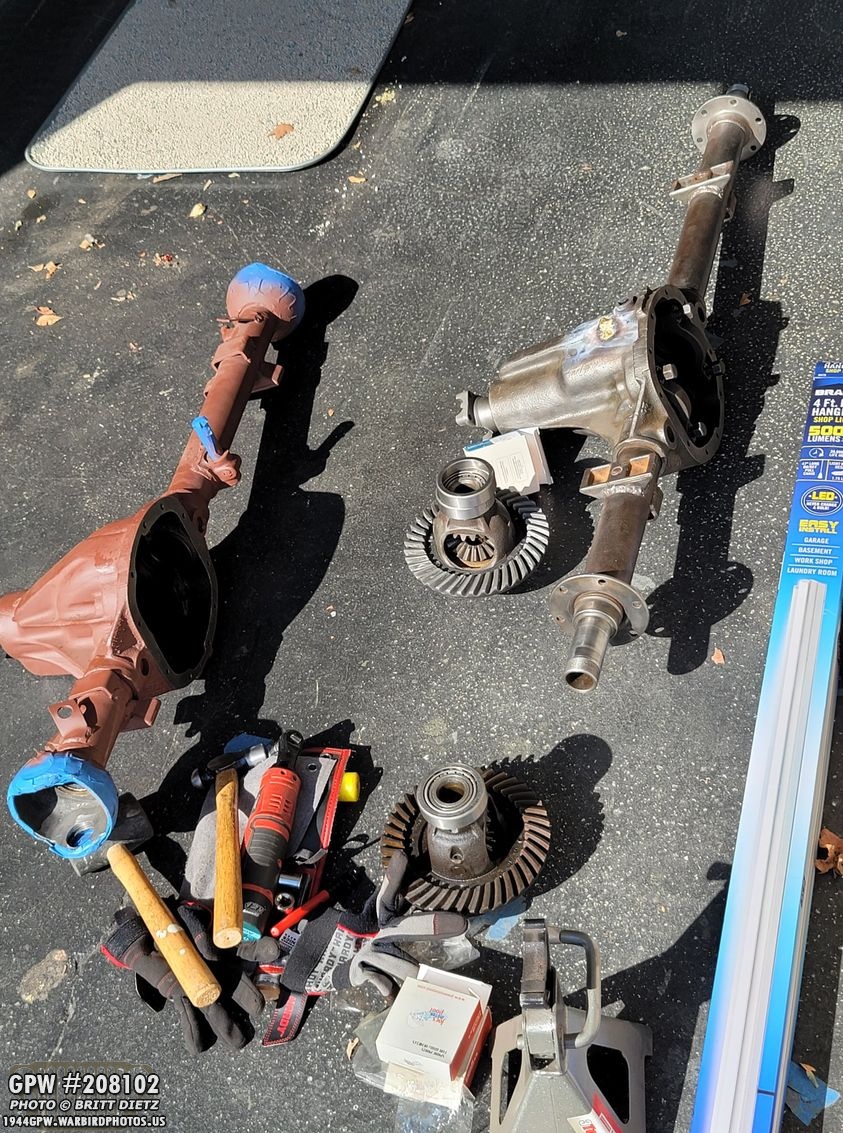
A quick axle status for this week… as mentioned a million times, it seems, in these updates… I have CJ axles and rims on my Jeep currently. It’s how I got it. I have a pair of original 1943 GPW axles I’m slowly restoring to replace those CJ axles, and combat rims to replace the CJ rims. In the last 10 months, I’ve slowly taking both axles completely apart, cleaned everything, fixed a crack in the rear axle, acquired new/replacement parts, and have painted many items with primer.

But I’ve ran into a pause when, last week, I realized the Joes Motor Pool bearings for the two ring carriers are made too tall, and thus the carriers won’t fit back in the housings even without shims. So, Ron Fitzpatrick Jeep Parts was amazing and sent me replacement Timken bearings. I’ve been waiting to head over to a friend’s house to help me remove the Joes Motor Pool ones and put these Timkens on. That will actually happen later today (Friday), so look for it in next week’s update.
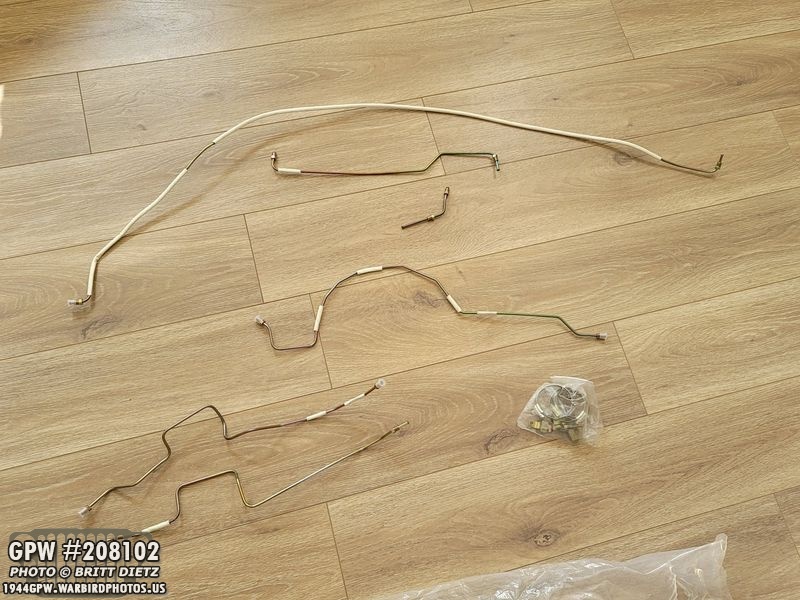
On other ‘delays’, I got a brand new brake line kit from Kaiser Willys. I most often order things from &Ron Fitzpatrick Jeep Parts, but I also (from time to time), like to support the other guys as well. Kaiser has been great to me over the last two years.. I have their wiring kit, a manifold, all my replacement gauges, etc from them. But when this brake line arrived, I felt I got a lemon. First, and most importantly… it was OMIX. Ugh. And the looming was WHITE! Whhhhat? It wasn’t even asphalt. Plus, I don’t think the lines are even steel, they look like a mix of materials. This just wouldn’t do, especially for $100 and the website saying the looming would be black and they are made with steel. Thankfully, Mike at Kaiser is doing a full refund and I’ll be shipping him the set back. So that’s good customer service at least! I have since ordered another set from a different vendor.

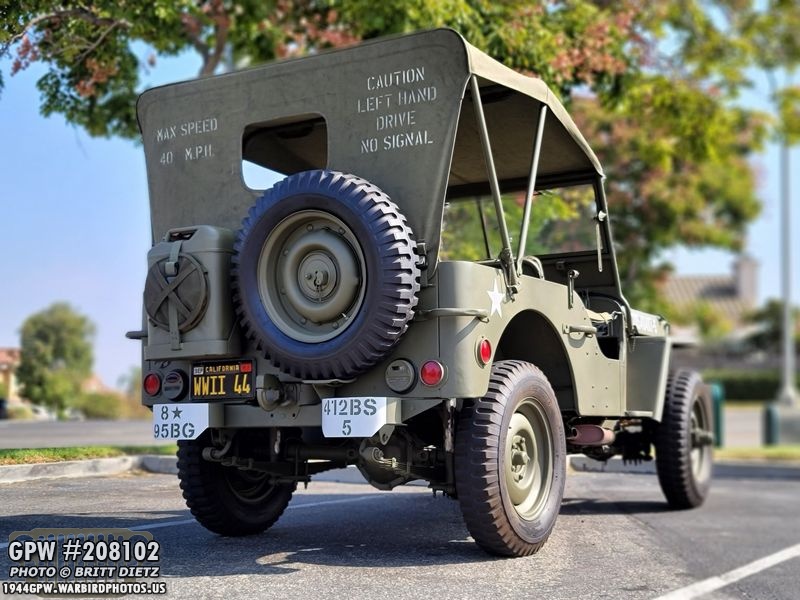
That’s about it for this week, wrapping up this short update with just a few more shots, here’s one during a drive on Wednesday. Thankfully, the weather is cooling off here in SoCal, and on this day it was a nice 70 degrees when I took the jeep out for a spin in the early afternoon. The nice cold air kept the engine nice and cool! Stark contrast from the 110 days we had a few weeks ago where the Jeep was overheating.

After parking at the park the other day, I realized that I’ve never driven with the inner windshield lifted up. So I thought it might be fun to try that. Let me tell you, it wasn’t all that fun as I thought. Especially when it’s windy! I looked like I was in a wind tunnel with my cheeks blowing back! I quickly put the windshield back down.
So that’s it for this week! If all goes well on the axle work putting the Timken bearings on and setting the carriers, then next week will be the start of the axle extravaganza! Till next week…