 New shipment of items!
This week saw a few more little projects done, thanks to some shipments of new items! As I prepped for another major engine project, however, tragedy struck requiring an expensive replacement…
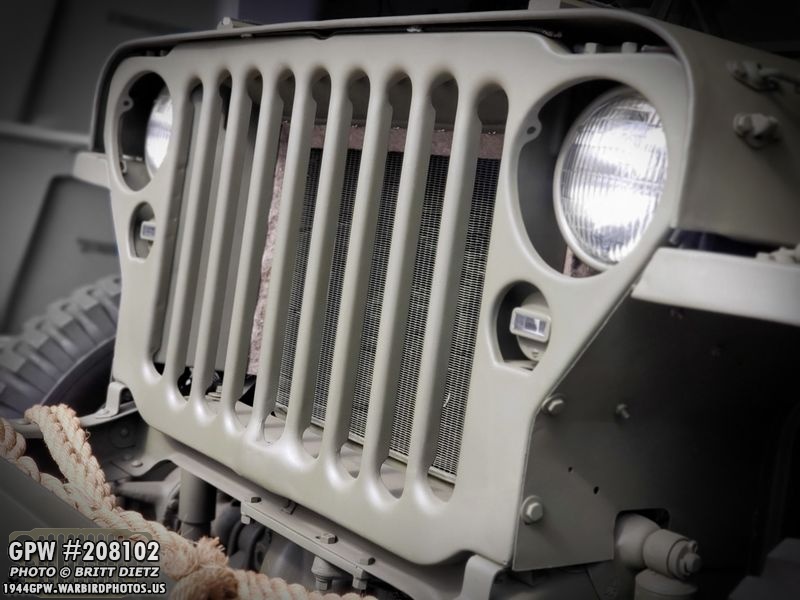
A quick view of the iconic grill on the jeep to start this week’s update.
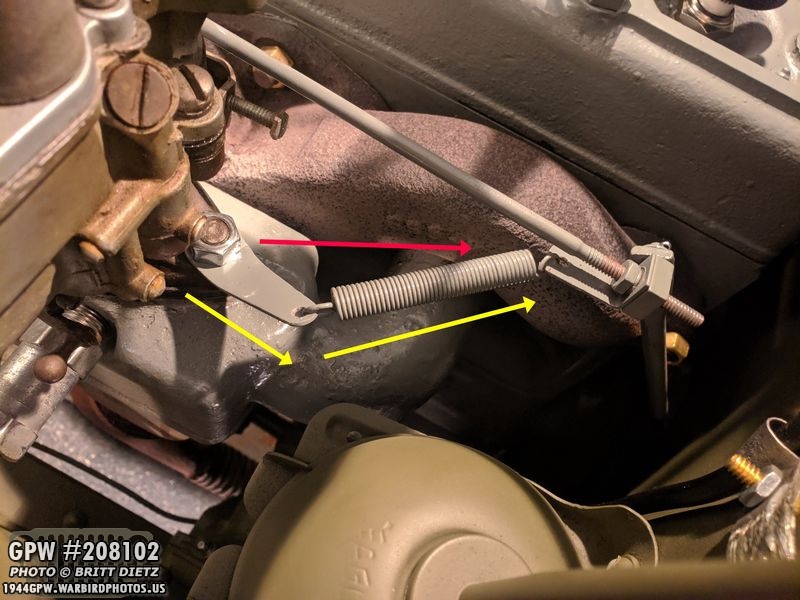
If you saw last week’s update, I adjusted the accelerator linkage (the connecting parts that allow fuel into the carburetor after pushing the gas pedal). In adjusting it, I realized that the spring is way way too long and not correct. It should be in a straight line (red arrow), but instead it’s so long it causes the spring connector to be moved outward into the yellow arrows.

I decided to order the correct style spring, which arrived a few days later from DeBella Jeep Parts.
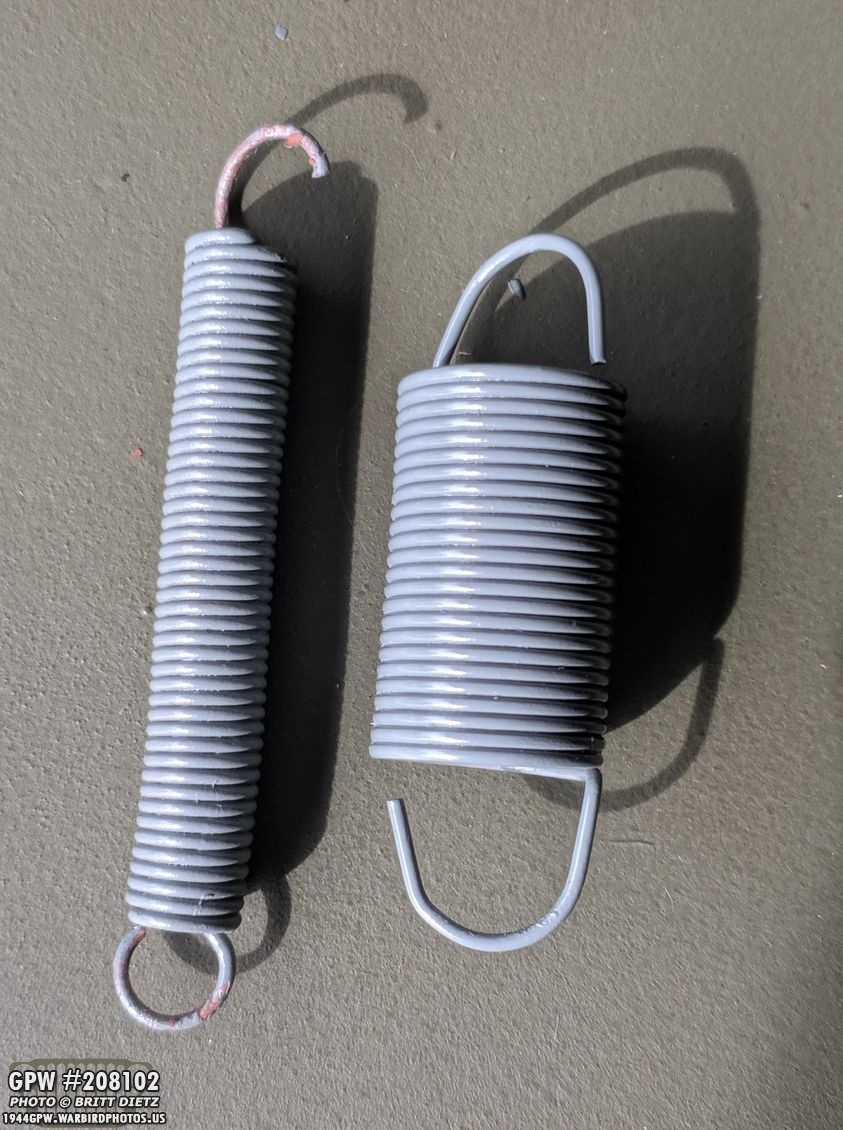
After sanding it and repainting it to the correct Ford Engine gray, I put it next to the incorrect long spring. Quite the difference!

That looks MUCH better! Nice and tight too. Should make driving a lot better.

Another project last week was trying to eliminate the tinging rattle coming from my transfer case shifters. I bought two anti-rattle springs shown here. The WW2 ones had holes instead of slots, but that would require a huge project to lower the transfer case to undo the shifters and slide them on. Instead, I opted for post-war ones (same design, just with slots instead of holes) since I can just push them onto the shifter shaft.

Here I’ve installed both of them. It was quite the ordeal getting both to go in there, the first one was easy but the second one required a bit of rocking the shifter and slowly working it in there.

The result was instantly noticeable. The two shifters are solid now, they don’t wobble at all and shift very smoothly. This should eliminate the rattle!

And with the leather boot cover on, you won’t even see them. They are often left off of Jeeps because of the fact that you have to add them, essentially, when the body tub is off the Jeep or the transfer case is out. Can’t wait to drive the Jeep and hear how much quieter it is!

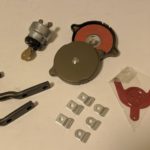
Another shipment came from Australia’s M.V. Spares with some wonderful additions for the Jeep. I got an extra keyed ignition switch (at $18.50, it’s a bargain!) as a spare backup, two fuel sump caps, a jerry can octane tag, correct slips for several bond straps (hard to find these), and two spare Ford F stamped J hooks for the rear seat. I’ll get to what I did with all these in the next photos.

Last week’s update saw the restoration of another jerry can that has a cap that’s more the late-war style with the curled tabs.

Something I don’t see often in the Jeep world, but have seen in many photos, is the addition of an octane tag on the Jerry can. I liked the look of it, adds a pop of color to the back of the Jeep.

It’s easy to remove the tag, so once I get a wartime jerry can, I can move it over. But I like that extra little detail!
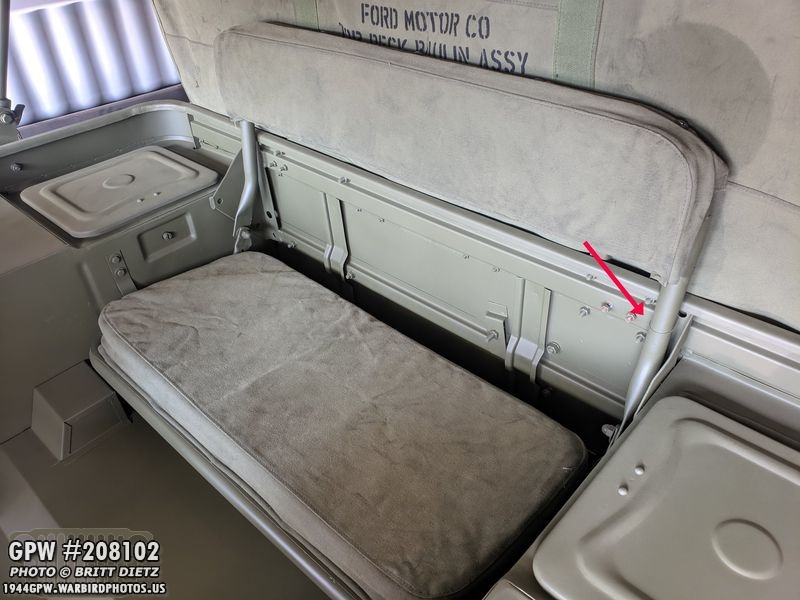
Next up are the two J hooks for the rear seat. Quite a few updates ago, I had realized that the MD Juan body tub studs for the J hoods, which hold the back of the rear seat up, didn’t line up so J hooks won’t fit. I’m going to have to custom modify the J hooks to fit (moving the holes over). I’ve been using a thin piece of wire to keep the back seat up (red arrow).
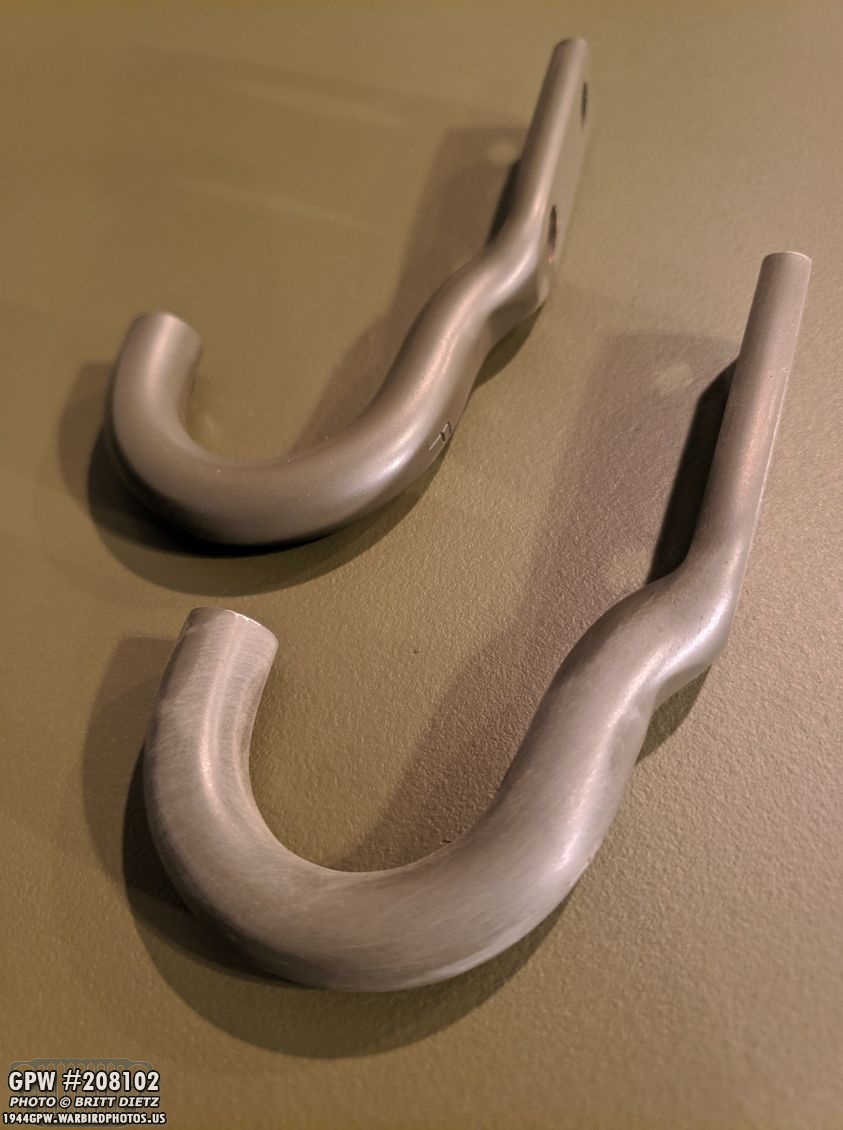
So, not wanting to modify the two original Ford F marked J hooks I had, I ordered two reproduction ones (with F stamps as well) that I can modify.

I was test fitting them, just for fun to see if these ones are different, perhaps my original J hooks were wrong. Suddenly, I realized, the passenger side one actually fits! Super excited to see that (especially that meant I could get rid of the wire holding the seat up), so I went to work painting the J hooks and new nuts for the studs.

Here’s the passenger side installed! Perfect fit! A little touch-up paint was applied… but as for the driver’s side…

That one will have to be modified for sure. I tried several different ways of trying to get it to connect, but the studs are too far inboard. So I’ll have to move the holes on the J hook to the left in order to get it to fit. That’s a big project for another day when I have a welder.
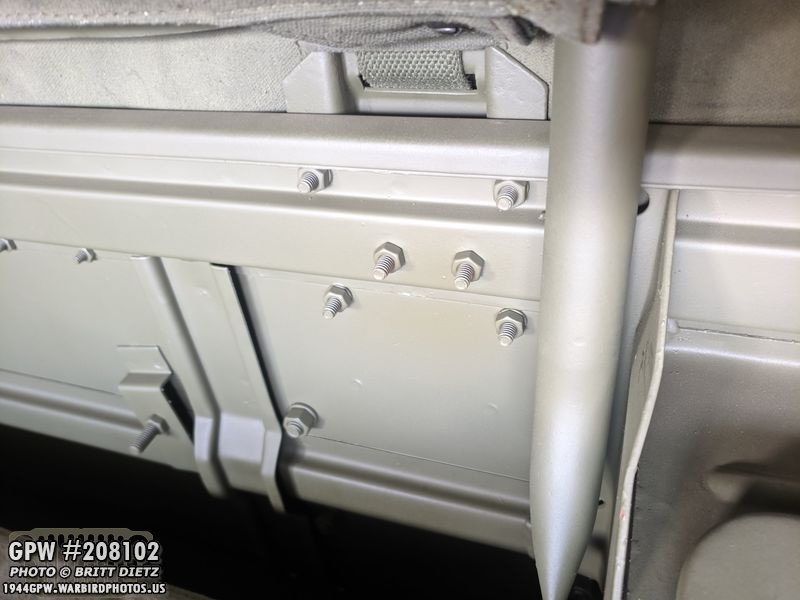
For now, this side will be without a hook instead.

But it sure looks good with at least one side having a J hook! So much better than that wire.

Next up, I got two caps for the fuel sump, which is the dropped ‘container’ for the fuel tank. There are two drain holes on the sump (front and back) that should have covers. Many jeeps don’t have these covers, but having them will help keep debris and things from being thrown into the sumps. Here I’ve painted them the matching 33070 OD Green to my Jeep.
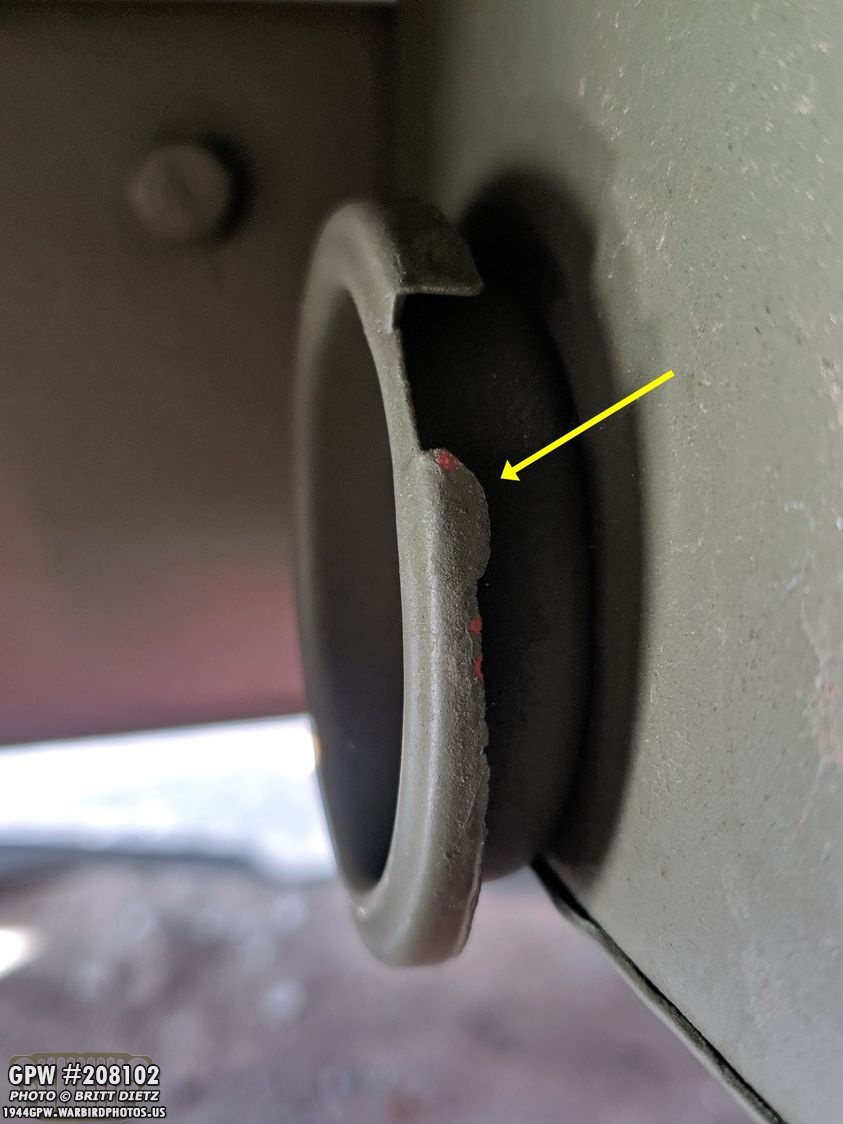
There were two issues with installing them… one being that the tabs on the caps were a little too tight. So I bent those out slightly, which allowed the caps to go on the necks better. The second issue, shown here, is that the cut on the necks were pretty bad. I took my Dremel and ground down the ‘bump’ shown with the yellow arrow so it was a nice straight gradually getting thicker lip.

PERFECT fit after those two modifications! And they are tight as can be, not going to rattle off for sure.
Here’s a look at the rear one, with the tab I had to very slightly bend outwards showing.

The last items I got in the shipment were the bond strap clips. I had used spare clips I had, some clips that were already on the Jeep, and left-over clips from my wiring harness to do the bond straps, but they weren’t tight on what they were holding. So getting these correct ones will ensure a nice tight fit. Here’s a clip that goes from the fuel line to the firewall. Yes, I know, the fuel line is painted OD Green. It’s grounded elsewhere on the Jeep for the fuel sender, so this is just for looks. Eventually, however, I’ll be getting new fuel lines so that won’t be an issue after that.

Two clips, including one with curved edges, were replaced on the strap that holds the temperature gauge wire and speedometer cable.

Finally, three clips were replaced on the strap that goes from the oil pressure gauge line to the firewall, to holding the choke and throttle cables. Replacing these clips were not critical, but little details that had been bugging me.

THE NEXT BIG PROJECT… I decided since my rebuilt starter is in Oregon getting looked at by Ron Fitzpatrick Jeep Parts, that it would be a great time to get into my engine valves and adjust them, as I’m sure the majority of the loudness of my engine is coming from valve clatter. Since the Jeep is down, why not do it now? So I started work clearing the area around the valves including taking out the horn, oil can, and (after this photo) the oil can holder.

I then carefully unscrewed the brass nuts holding the intake/exhaust manifolds (with carburetor attached) and took off the two special washers. As I slid off the manifolds… tragedy struck.

As the manifolds were sliding off the studs, something fell off and into the Jeep. Once I pulled out the manifolds and looked… I saw an expensive problem… an ear on the intake manifold had cracked and broken off. UGH! Pretty sizable break, and could possibly be why I had some air leaks a few months ago when I was having issues getting the Jeep started. Perhaps it was cracked and the crack filled itself over time, but taking the manifold off made it break off. UGGGGH. So, a new intake manifold is on it’s way from Kaiser Willys Auto Supply.

After accepting the fact that I’d need to get a new intake manifold (no way I could fix it), I put that aside and continued on. I knew I wasn’t going to get to actually adjusting the valves this week, but I wanted to take a peak inside and see what condition they are in. After taking the valve cover off, here’s a look at the first 5 valves.

And a look at the last few valves. Not too bad, no sludge that I could see so that’s good. For sure needing some adjusting though!

And just for that, I went out and bought a feeler gauge for the project, which I hope to tackle this weekend or Monday. I’m going to take it nice and slow with the adjusting, and do it twice to check my work. Better to get it right now than to have to redo all this later.

So, for now I put some tape over the exhaust manifold holes and put the valve cover back on. I’ll document the entire valve adjusting in, hopefully, next week’s update.

With the starter out of the Jeep, the air bath canister out (to make it easier to get the starter out), and the manifolds/carburetor removed the engine is looking a bit spacious at the moment!

Another look at the missing things in the engine. Great time for me to do some paint touch-ups on some items I couldn’t get to, easily, before. Also, a good time to do any adjustments needed.

I will say, I’m liking the Ford F stamped radiator cap!

And the Jeep is up to almost 58 miles since I’ve started driving her! Once I get the engine back together with adjusted valves, the new manifold, and the fixed starter… the engine should purr when I next drive her, hopefully, in a few weeks!

Here’s a look at the stencils I’ve ordered for my Jeep from Military Stencils By Axholme Signs. I’ve carefully researched many photos of AAF Jeeps over the last few weeks, and after going back and forth with them tweaking this and that, I’m pretty happy with the font selections. Most AAF Jeeps that I’ve seen (not all, but most) have the tall skinny stencil for the hood numbers, while the bumperette and front bumpers are a bit more stubby. The stencils are coming from the UK, so it’ll be a little bit before they get here, but can’t wait!
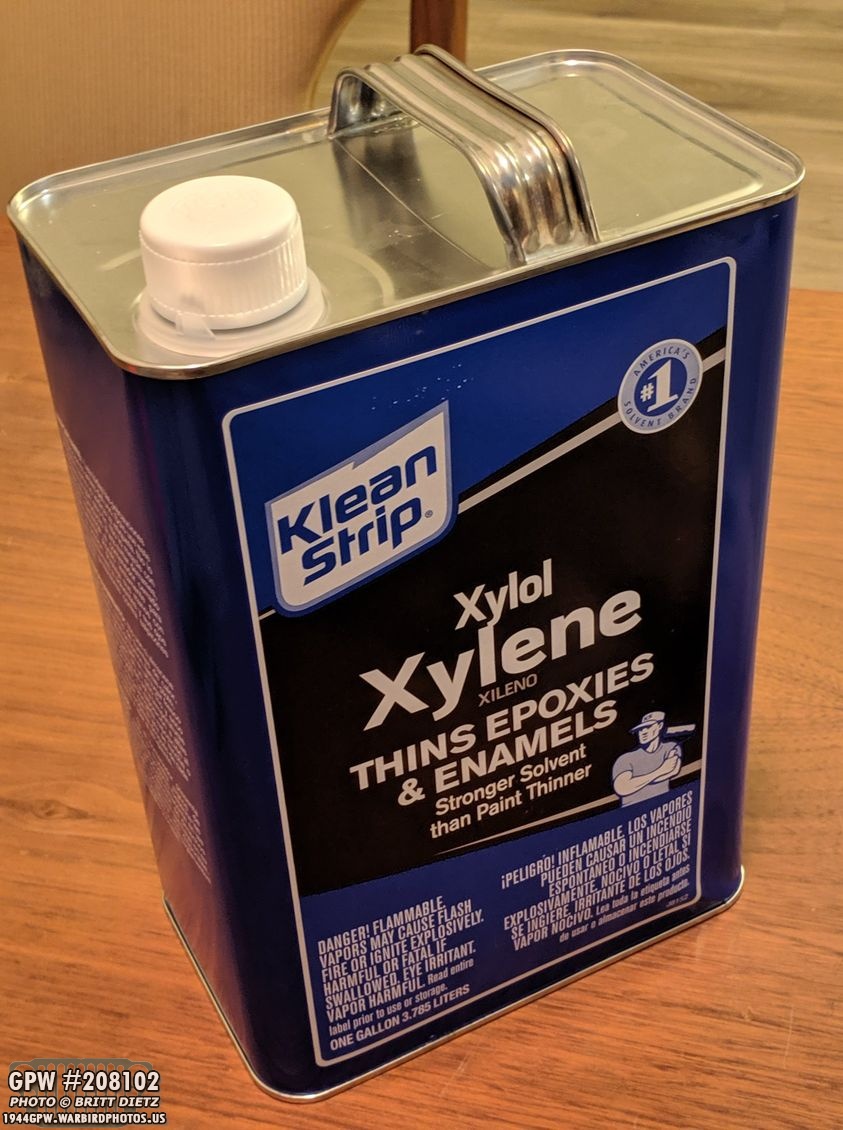
One final note for this week… I went up to Las Vegas over last weekend for the Nellis AFB Airshow. While out there, I might have visited a Home Depot and might have picked up some Xylene thinner, which is banned in CA. I can’t confirm or deny that I brought a can of it home with me… Till next week’s update!