 Return of the Starter
It’s December! This week saw a lot of work, including the replacement of the cracked intake manifold (see last week’s update), the return of the rebuilt starter, fixing the toolbox lids, and more!

A little Christmas cheer for the Jeep… more on this later.

Two updates ago, I talked about how when I took off the manifolds to adjust the valves, my intake manifold cracked and broke off one of the ears. I ordered a new one…

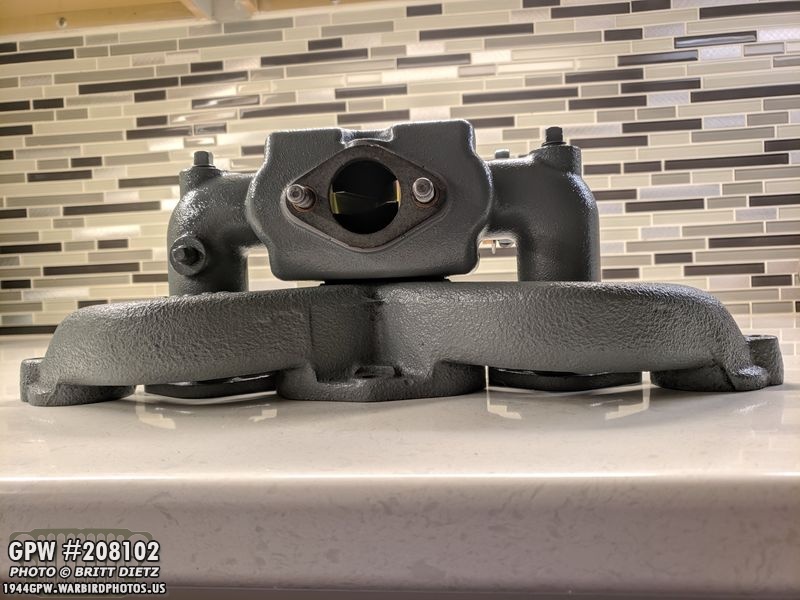
And it arrived from Kaiser Willys Auto Supply! I found that most of the intake manifolds out there are modeled after the M38 jeep (post-war) manifolds. They are universal in the sense that they will fit on the WW2 or post-WW2 military Jeeps. The main difference is the addition of the port hole on the top of the right arm.

Here’s a look at my cracked intake manifold and the new one. One issue though… they painted all the surfaces that will be joined to various things… they should be metal (like my cracked one)

So I took some sandpaper and made nice smooth surfaces. I will say, the paint they used was really tough stuff, took a bit of work getting it sanded off!

I went to Lowes and got a brass plug for the top, and I used the two brass plugs I had already for the two other ports (which were commonly used for late-war vacuum windshield wipers). I masked off the newly sanded metal surfaces and scuffed up the manifold with a scotch pad. Time to paint!

Boom, all painted in Ford Engine Gray! But then I realized one other issue… the new manifold didn’t come with the two studs that hold the carburetor to the manifold. They are around $15 to get two new studs, so I decided to try and transfer the ones on the cracked manifold to this one.
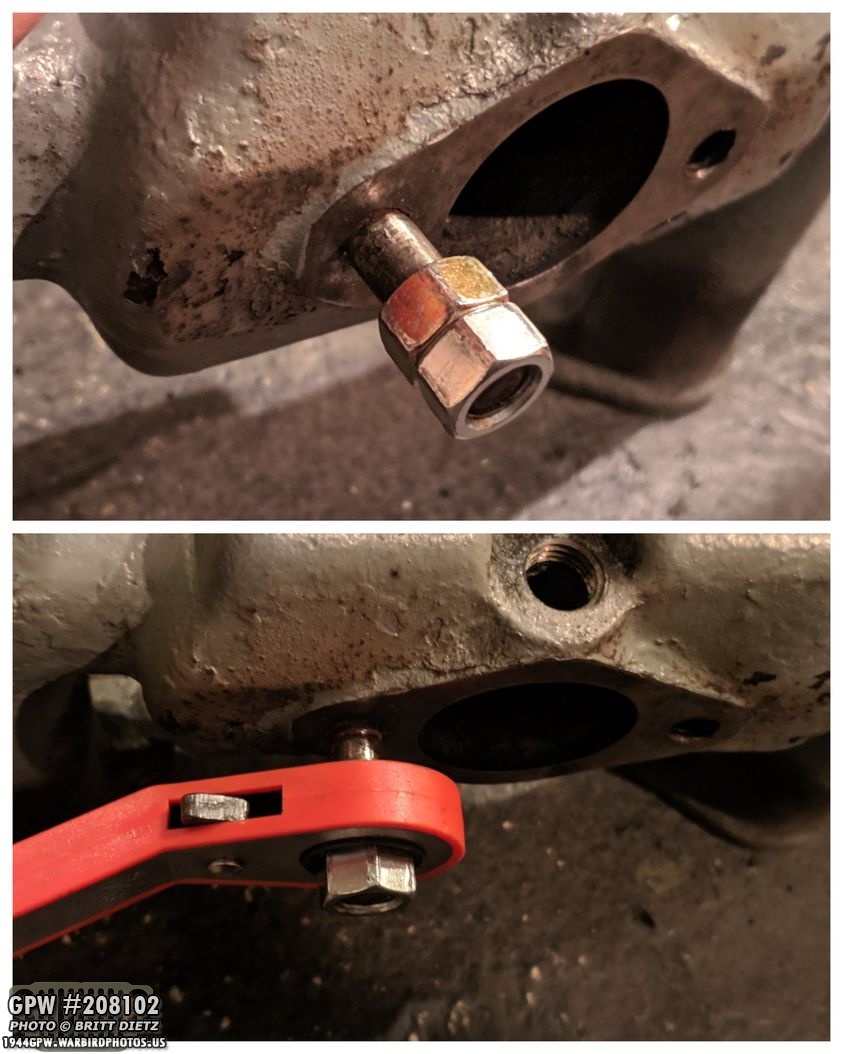
It wasn’t easy, in fact they were stuck in there pretty good. Thanks to a trick Roger told me about, I double nutted the stud nice and tight and slipped a ratcheting wrench on the inner nut, which pushes against the top nut and allows me to apply torque to break free the stud.
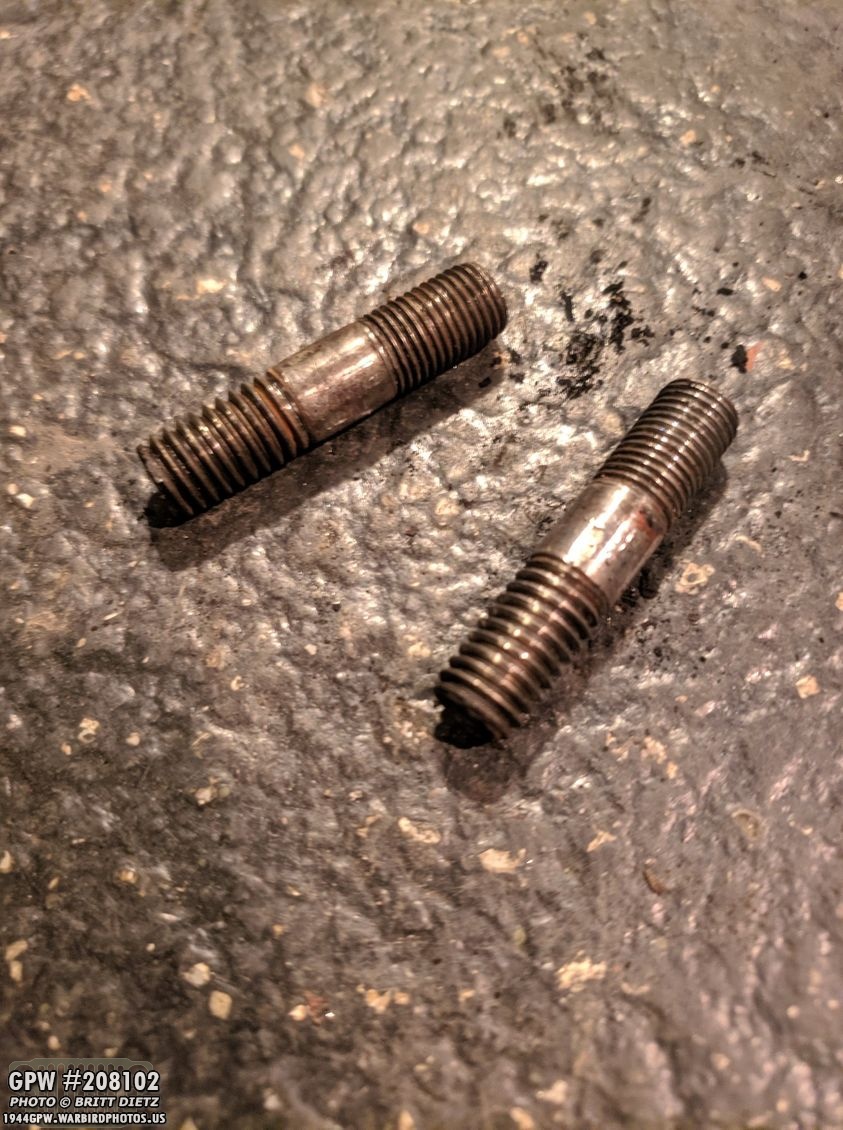
It worked, after some effort (and some taps of the hammer) they came loose!
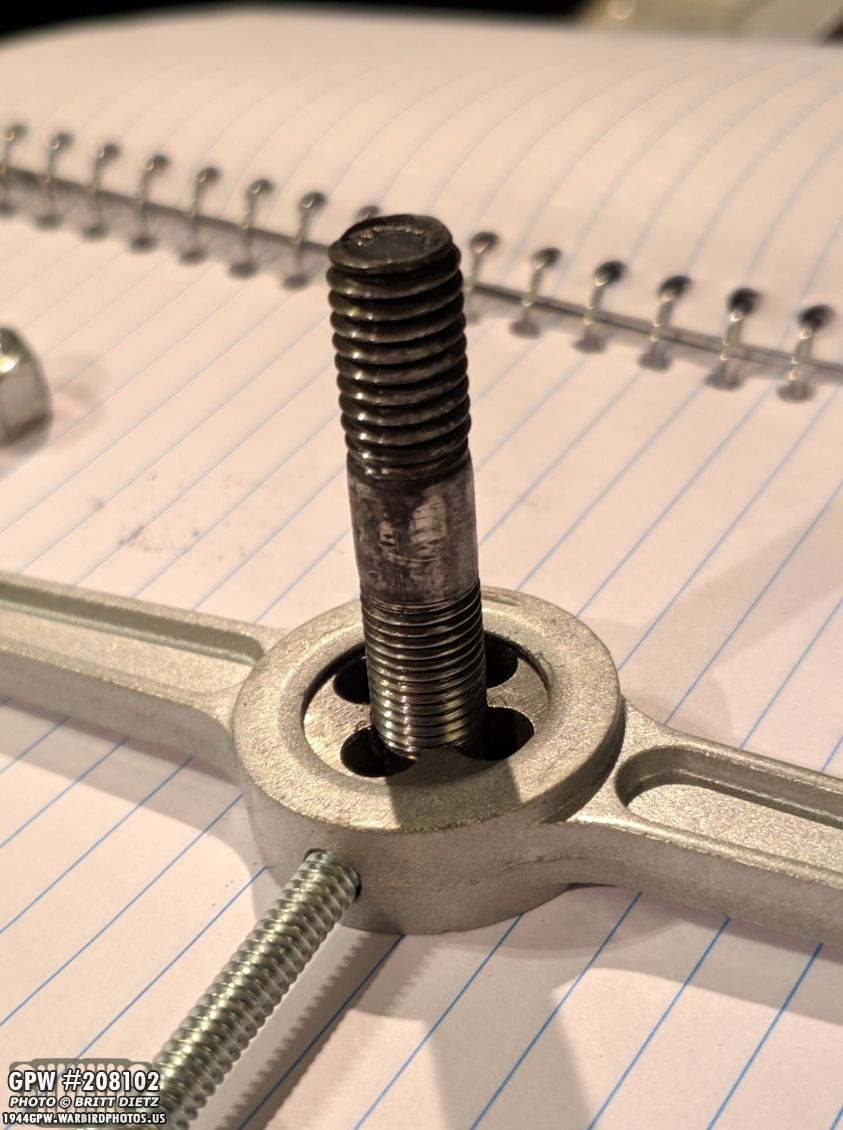
Before putting them in the new manifold, I put them through the tap and die set to clean up the threads.

To put them in the new manifold, I did things the reverse way. I double nutted the end again and used the top nut this time to screw in the stud as tight as I could (I did add some anti-seize to the stud to help for next time) so it won’t screw loose when I take the nuts that hold the carburetor off. Here I’ve also added the manifold to carburetor gasket with diffuser. IT was a tight fit, but it went on!

While doing all those things to the intake manifold, I cleaned up the exhaust manifold and gave it a coat of new Ford Engine Gray paint. Some of this will burn off over time, but it’ll look nice for now. I also painted the heat riser parts.
After everything was dry, it was time to mate the intake and exhaust manifolds! I was concerned about the surfaces that go onto the engine block being perfectly flat and perfectly even. To help with this, I found the flattest thing I could (kitchen countertops) and laid both manifolds down as if the counter was the engine block. This would help me line them up.

At first, it looked like they wouldn’t line up, then I remembered I forgot to add the gasket between the two manifolds, and just that little bit made ALL the difference! Everything lined up perfect!

With the manifolds still on the counter making a very flat surface, I screwed in the bolts tight and everything was as straight as possible! Bravo Kaiser Willys Auto Supply!

Now it was time to remate everything back on the engine… the true test that I got it all right! First up was putting on the new manifold to block gasket.

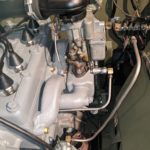
Then I slid the manifolds on and carefully put the brass screws on each stud (with the two bottom inner studs also having a special washer to keep both manifolds flat). A perfect fit on the block! After that, I added the carburetor back on.

Air horn reattached, just need to hook up the exhaust header pipe and the fuel pump fuel line.

But, I had to take some time on the exhaust header piper. Since I had used red RTV when originally mating it to the manifolds, it left some residual RTV and gasket pieces when I pried them apart a few weeks ago. So I used a screwdriver to carefully pry up the gasket remnants, then sanded it nice and flat.

Moving on to the next project, my starter came back from Ron Fitzpatrick Jeep Parts! I had purchased a rebuilt starter from them a few months ago, but the starter started acting odd, it consistently would only start on the time I would push the starter button. First time it sounded like the gears weren’t catching, second time it would start instantly. So they had me send it back to them for inspection and repair.

My theory I had when I sent it out was that the rebuilt starter had bad Bendix drive teeth. On the left is the rebuilt starter when I first got it, and then the right is the replaced Bendix drive with much better teeth.

It’s pretty easy to install the starter. Wish all things were as easy as this!
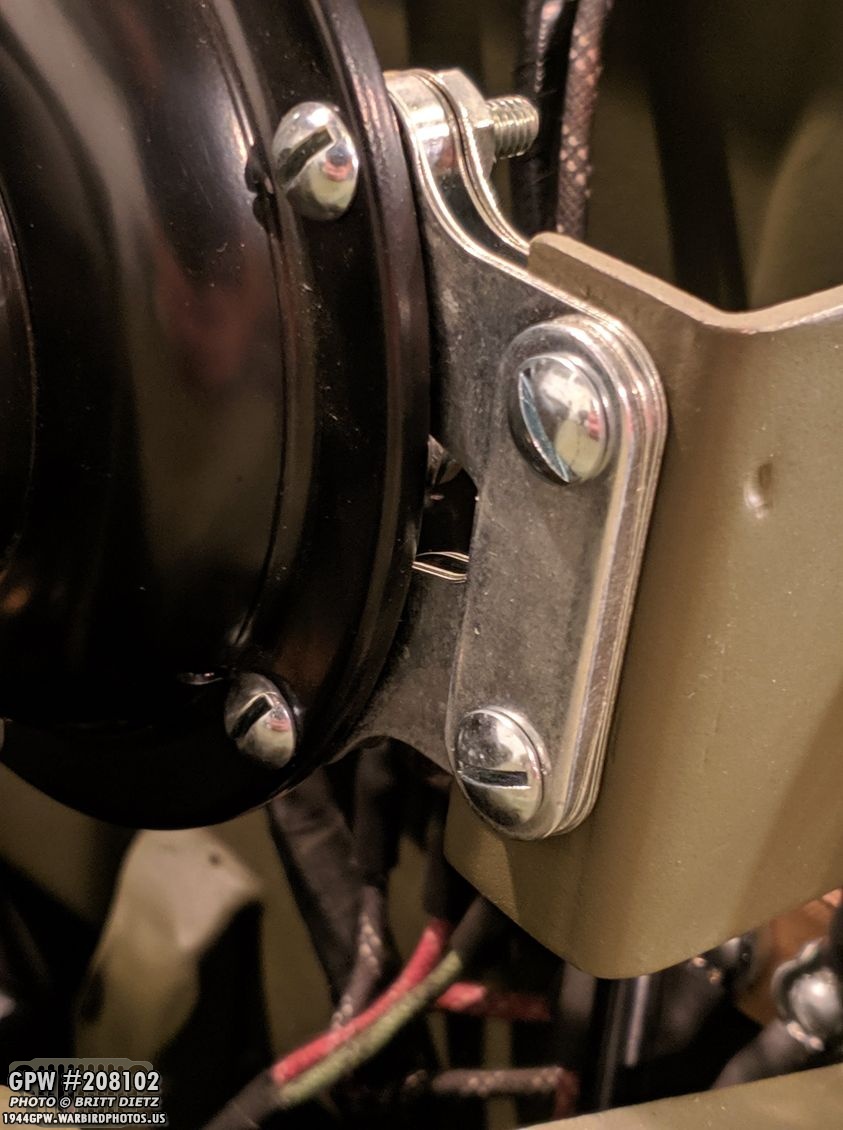
One of the final things I needed to reinstall was the horn. I took the time to replace the two bolts from the horn anti-vibration mount to the horn mount with correct slotted screws. Much better!

Everything is back together!
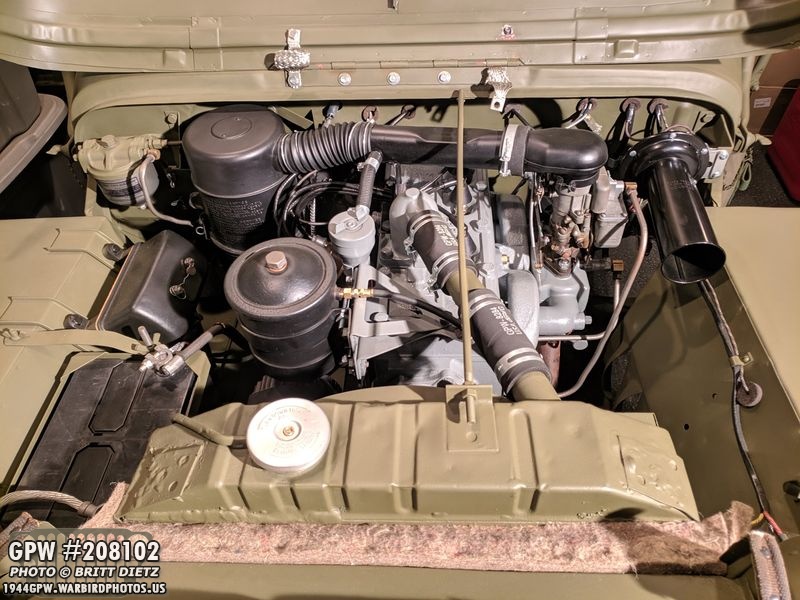
Looking like an engine again! Now to start it up… which you’ll have to wait till the end to hear how that went.
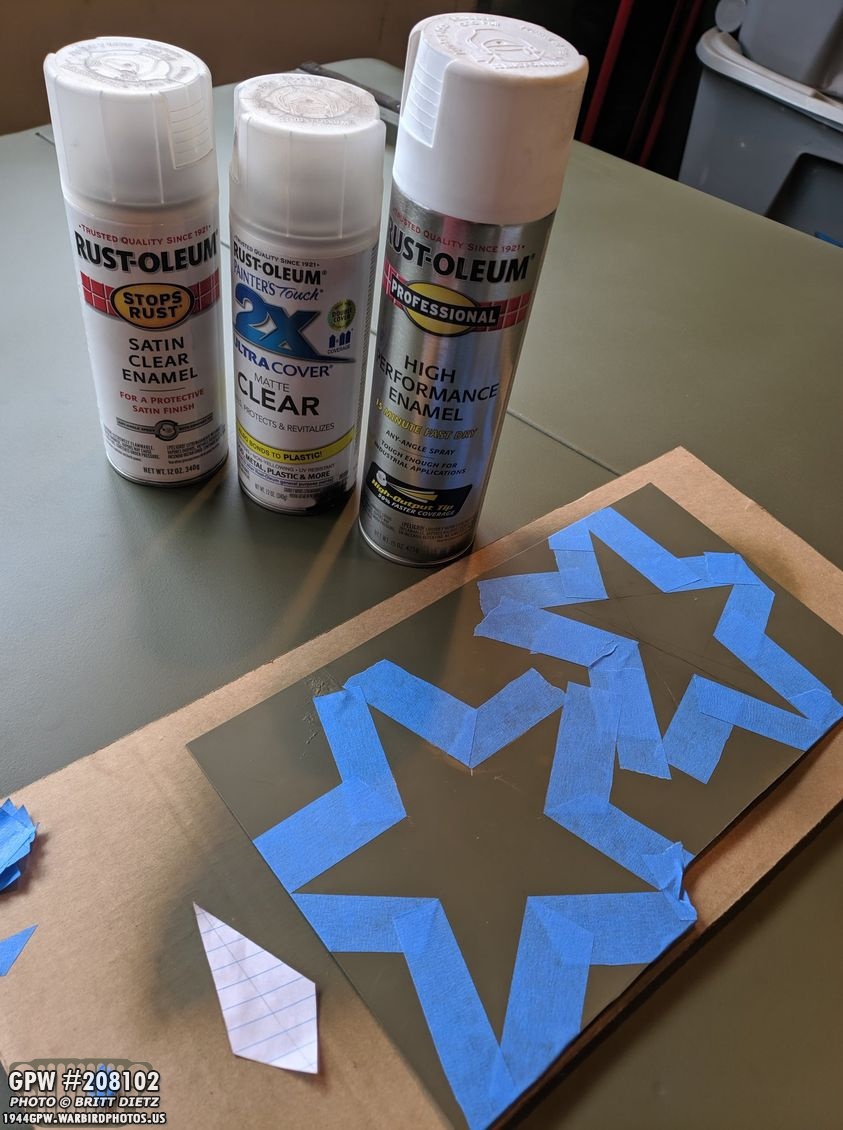
Last week I mentioned that I was going to test white paint in prep for painting the stencil markings on my Jeep. I made two stars out of painters tape on a piece of metal I painted OD green with the same paint as the Jeep.

Both stars got the same white paint, but one star I put a clear matte finishing spray that resists UV light and helps stop flaking, scratching, fading, etc. I then proceeded to put oil, fuel, coolant, and dirt on each of the stars and clean them to see which cleaned better. Both actually performed well with this professional white paint, but the one with the clear matte coat seemed to clean much faster. So I think I’m going to go with that.
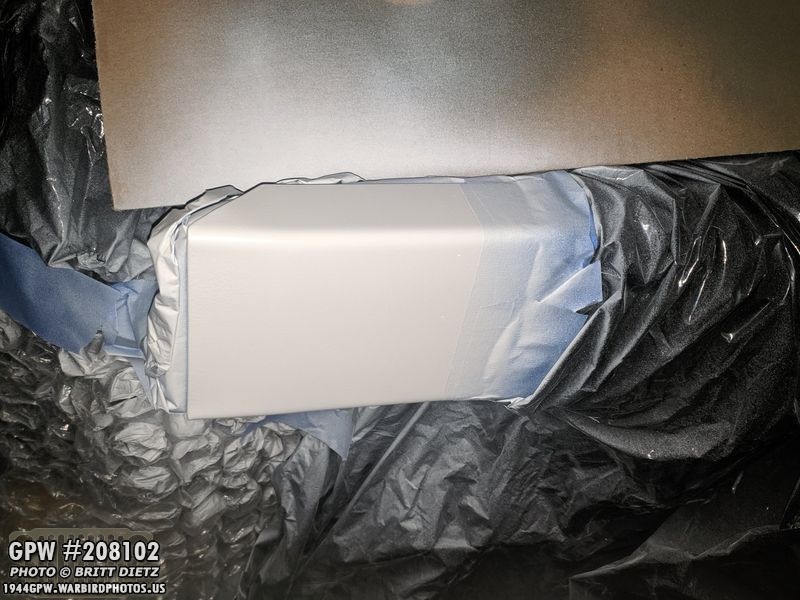
So I decided to touch up the white tips of the front pumper (nearly all US Army Air Force vehicles had these on their front bumpers) with the white/clear matte combo. I sanded down the original white paint I had on here a bit in prep for spraying, then painted.
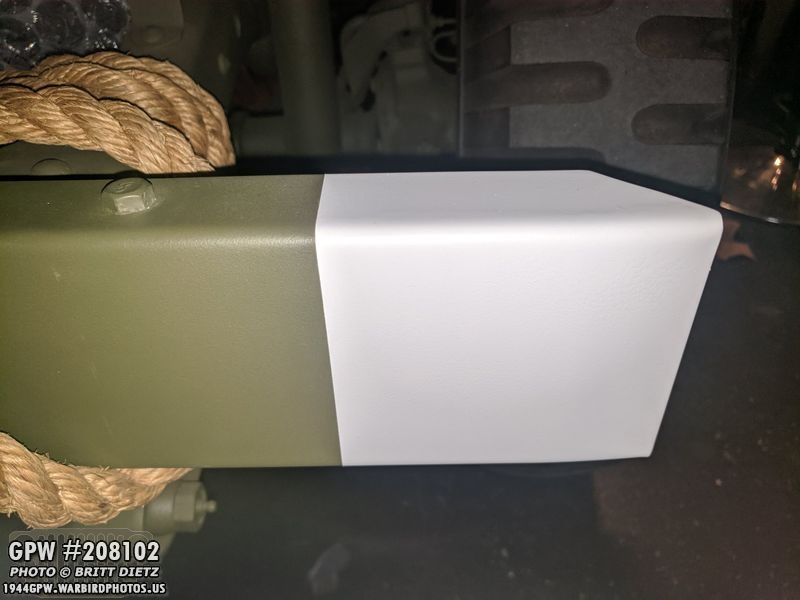
Came out nice and vivid white! The clear coat is holding up well, as well. So far anything I’ve accidentally wiped on it has come right off!

I also took the time to check the air in the Jeep’s tires. They were actually pretty low, one of them was almost 10psi. So I used my air compressor and a tire pump tool to get air in them.

I’ve seen people say to use 30psi, I’ve seen 35psi. I went with 30 as I see that most common with Jeep tires.

The next project was to tackle the read toolbox lids. I’ve yet to be able to properly latch them closed with the locks. This has been bugging me, as I want to keep items in the toolboxes (like emergency tools!) and I don’t want them easily stolen if the Jeep is left somewhere.

The main issue was that the latch on the lids that is supposed to latch with the lock was just not quite long enough. So I used my Dremel and carved a little U shape. That did the trick! They both latched now!

Also, the driver’s side lid was drilled and installed off-center, which also contributed to it having issues latching. The first hole needed to be moved over, while the other two could just be slotted. I filled the first hole with some JB Weld since it was a small hole.
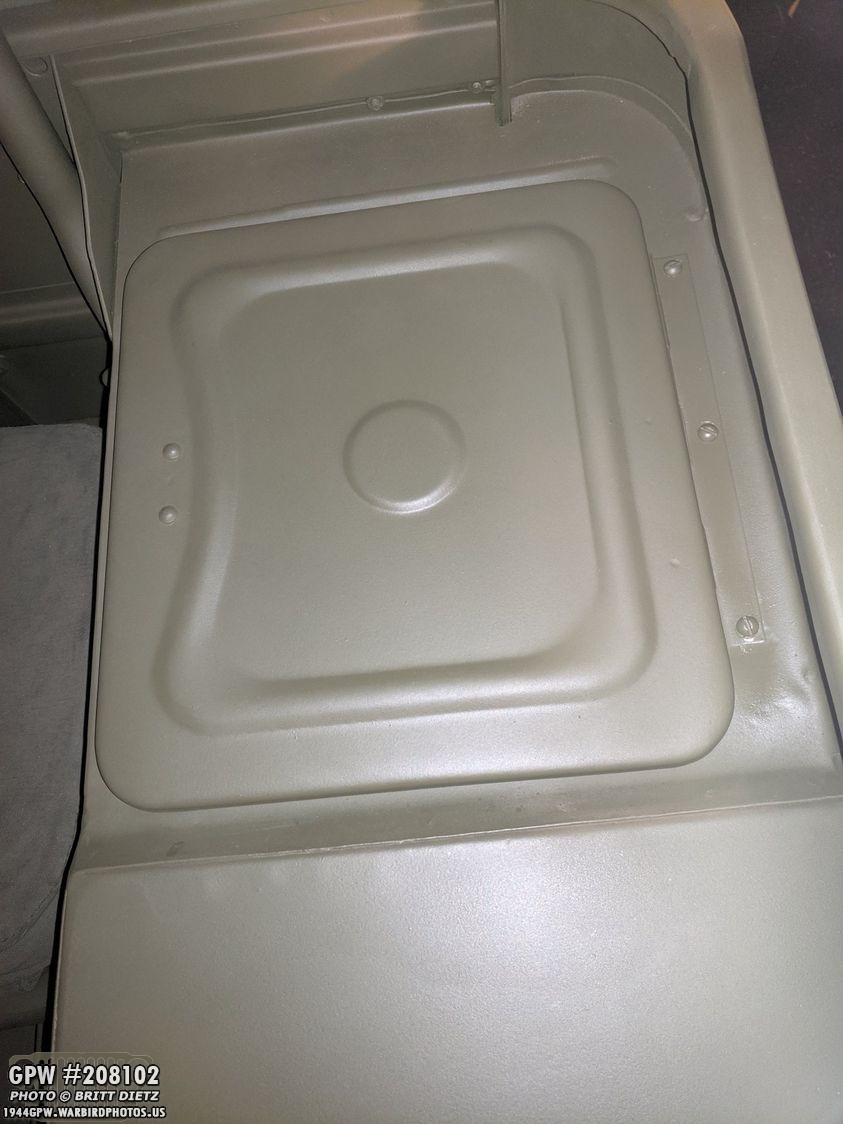
MUCH better, and with a coat of paint on the hinge and screws it looks perfect! Can’t even see the slotted holes.

Here the passenger side lid is drying after the latch got some paint. Mission accomplished!

I’ve always said to myself if I ever got a Jeep (or more WHEN I got a Jeep) that I’d put a wreath on the grill for Christmas time. I’ve always liked that look. So with Crystal’s help, we made a custom ‘red, white, and blue’ wreath to put on the Jeep. I didn’t want one too large, nor a super tiny one, so we went custom.

With a red bow and ornaments, white battery-powered lights, and blue ornaments, it looks great on the grill!

With the wreath on, it was time to go ahead and start up the Jeep for the first time in a few weeks… after getting the new starter and adjusting the valves. After high anticipation… the Jeep decided not to play nice. 🙁 The engine sounded super rough and struggled to stay alive. The engine kept getting flooded, and the accelerator seemed to drown the engine each time it was pressed. I spent a few hours trying to figure out what was wrong, and the only thing I could think of is I didn’t do the valve adjustments as perfectly as I thought I’d done. After consulting with Roger and trying all sorts of things, I eventually got the Jeep running to where I could drive it, but it was still very rough and loud.

I tried all sorts of things, and after the initial flooding of the engine (my bad, too many pumps of the accelerator when I was testing the new accelerator linkage adjustments) I left the engine dry by removing the spark plugs (shown here). I tried adjusting the carburetor idle screw, throttle screw, the distributor timing and even hooked up my manifold vacuum test gauge, which showed good vacuum. So the rough loud-sounding engine can only mean one thing…

Time to go back to the drawing board and do the valve adjustments again. Using the new stainless steel feeler gauge set, I’ll take off the manifolds again and triple-check that I did the adjustments correctly this time. Hopefully, that’ll fix the issue. But like anything with this Jeep, it will eventually be figured out, one way or another!That’s it for this week… here’s hoping for good news in next week’s update!