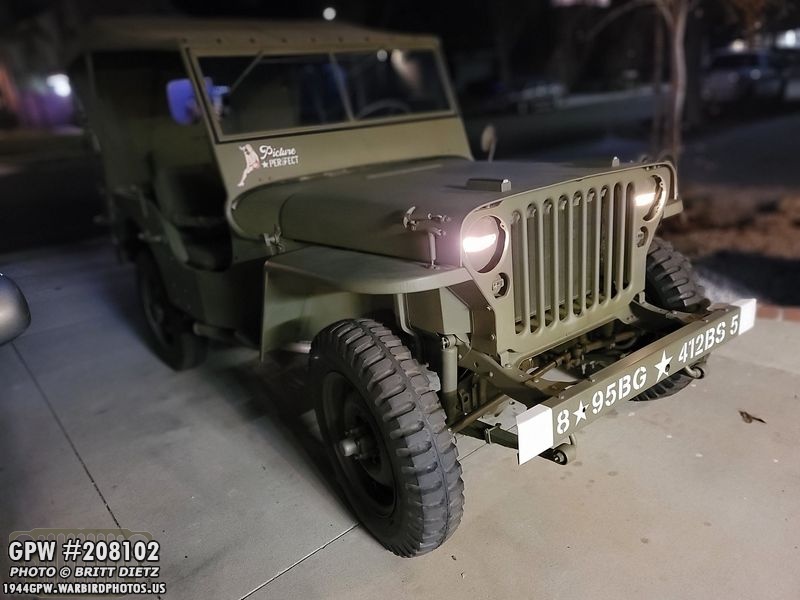
 The big moment… the first drive with new axles!
After weeks of work on replacing the post-war CJ axles with wartime GPW axles (that took over a year to completely restore), it’s the big moment as I take the Jeep for the first drive! But, not all is good as I hoped. In this update, I also replace the last front spring leaf plate that bent, and read the drive shafts after the restoration! Also, PART 1 of putting markings on the hood, and some other minor fixes to the Jeep!
The big day is here… after almost two months, it’s time to take the Jeep out for the first drive with GPW axles in many, many years. Perhaps decades! But more on this in a bit…

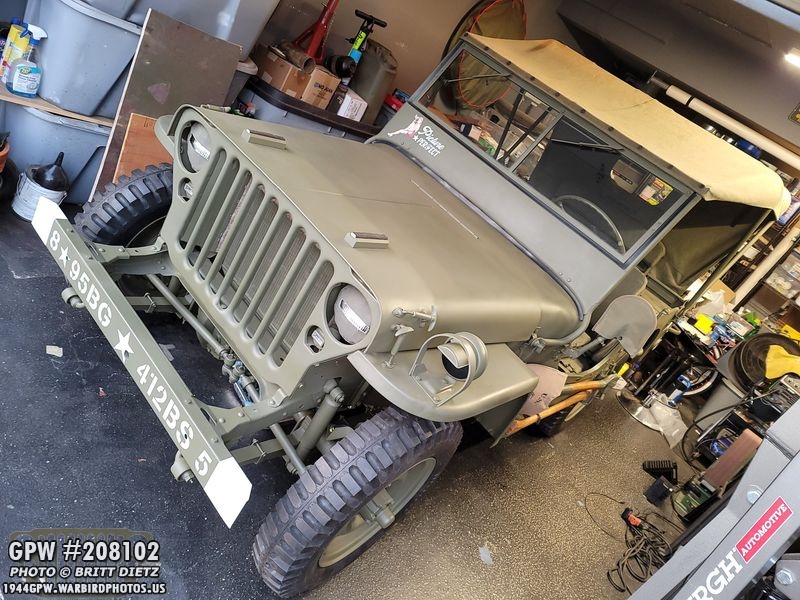
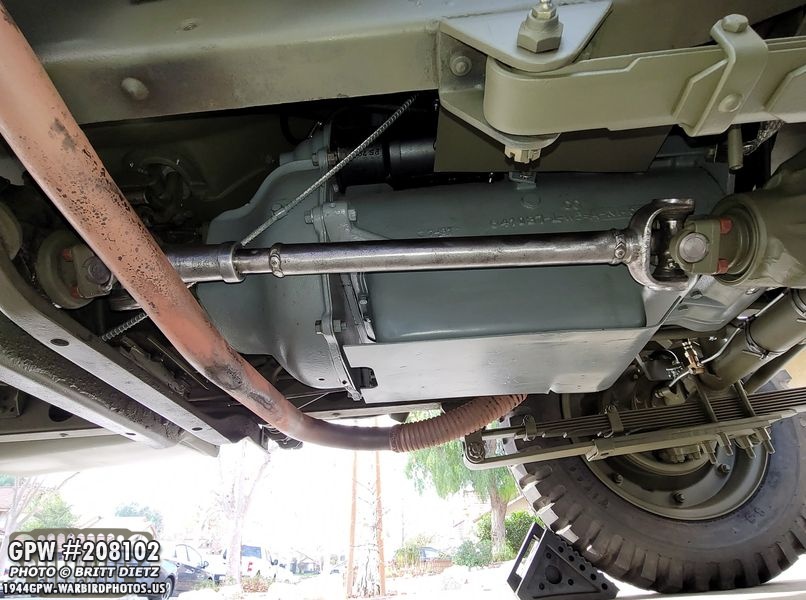
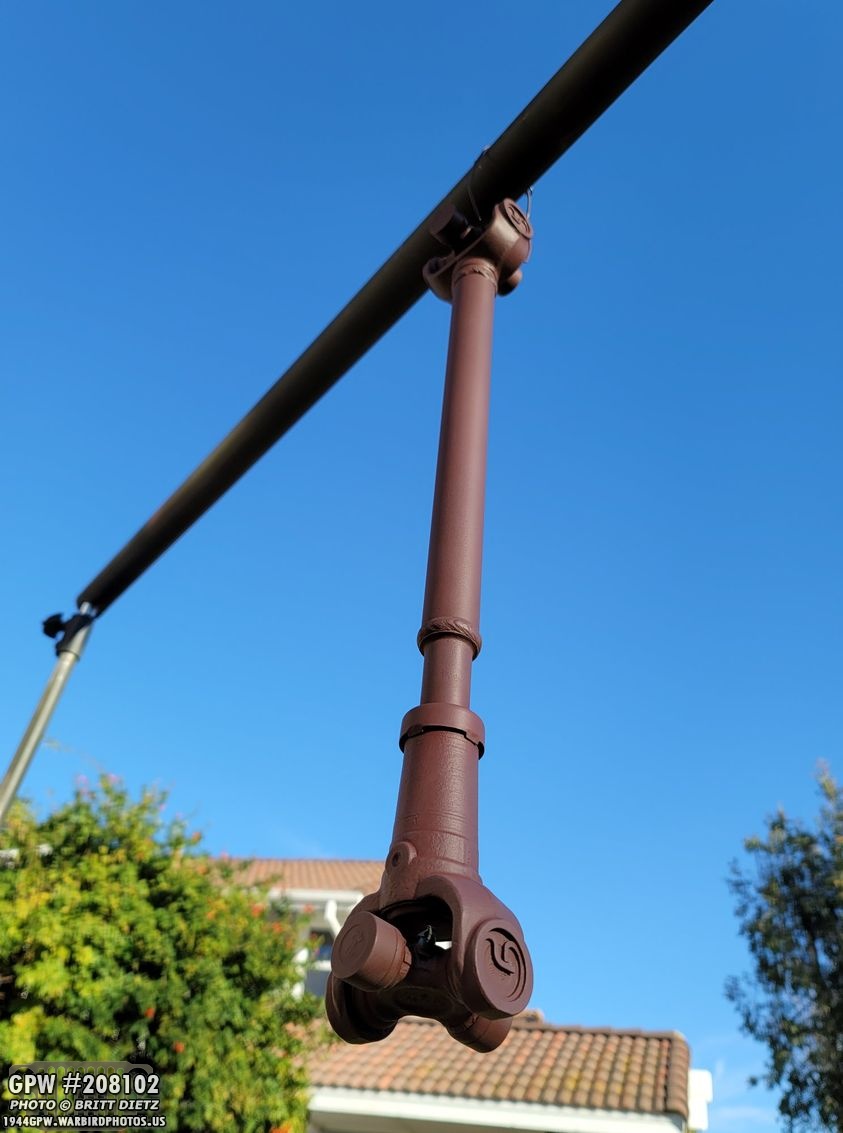
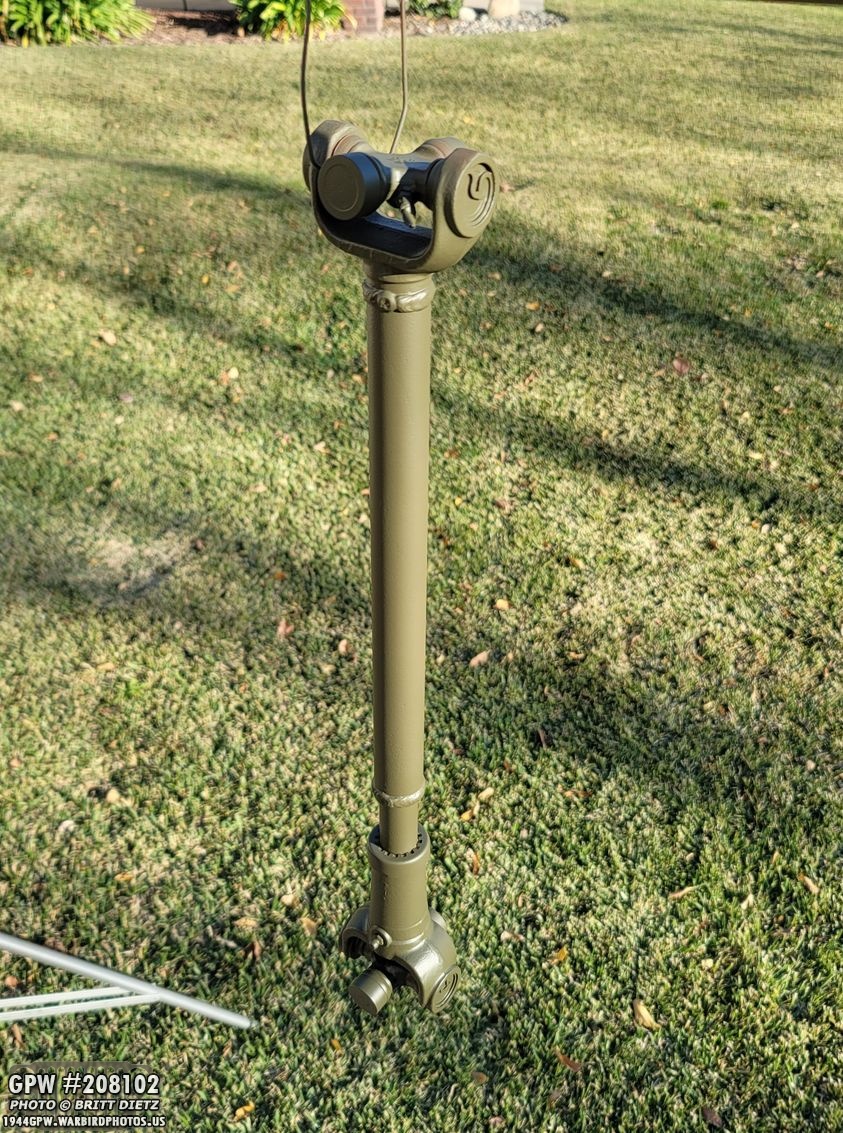
Last week, I had finally replaced the flimsy rear axle spring leaf plates that had bent when torquing with the much stronger ones from Walck4WD. I then bled the brakes in last week’s update, so all that was left was to install one of the drive shafts! The rear drive shaft, shown here, has been ready to go for a few weeks now, so I went ahead and put that on as shown.
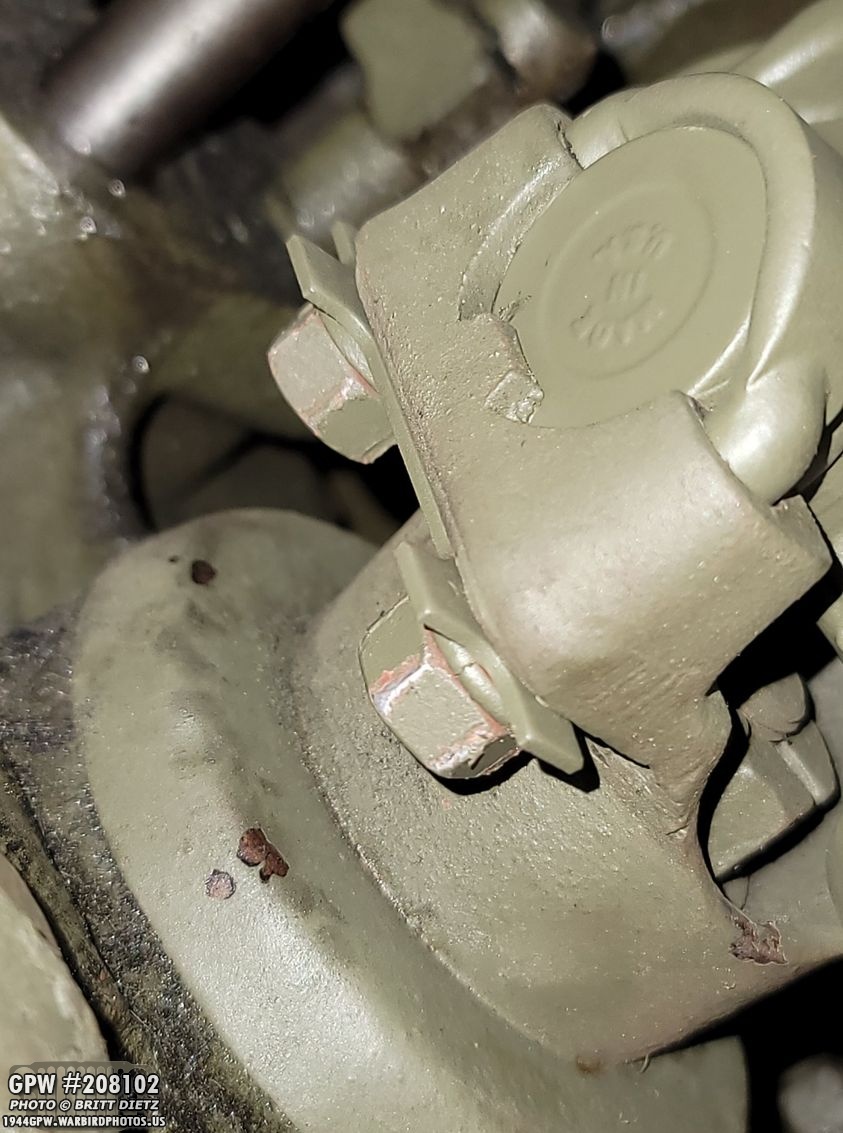
I added the lock straps, which were missing from the Jeep. I didn’t want to bend over the tabs until I was sure everything was good.
With the rear driveshaft in, it was time… New ww2 Firestone repro tires, CHECK. 1943 GPW axles fully restored, CHECK. Combat rims, CHECK. Restored original springs and shocks, CHECK. New brake lines all installed and bled, CHECK. Steering and wheel alignment adjusted, CHECK. Rear Driveshaft in (which is all I need for the test), CHECK. I think it’s time!

Moment of truth… I was a bit nervous, for sure. I did a LOT to the Jeep over the last month. It was a lot of things to pay attention to. I decided to start slow, driving up and down the driveway first to test the brakes. Then a short drive up and down the street to test the alignment and more brake testing…

And off I went, the first time I’ve driven her since the axle replacement began. I was hyper-aware of everything going on with the Jeep. Sounds, any vibration, wobbles, etc. The steering was great, nice and smooth, and actually easier than the CJ axles! Braking took a little longer than before, about 3-4 seconds to stop vs almost instantly. That’s probably because it’s brand new brake pads that haven’t conformed yet to the drum. The alignment was good, with no wobble in any of the gears. But, as I came to a stop hitting the brakes at the end of the street, I noticed something…

As the Jeep was in gear, and I started to hit the brake before pushing the clutch, a ‘clackity’ sound was heard. The second I pushed in the clutch or put it in neutral, the sounds immediately vanished. So something under load was causing the sound. At first, I couldn’t tell where it was coming from, but after a few more quick drives, I could point it to the rear of the Jeep. No weird vibrations, no loud whines… just a clackity sound when under load and above a certain speed.
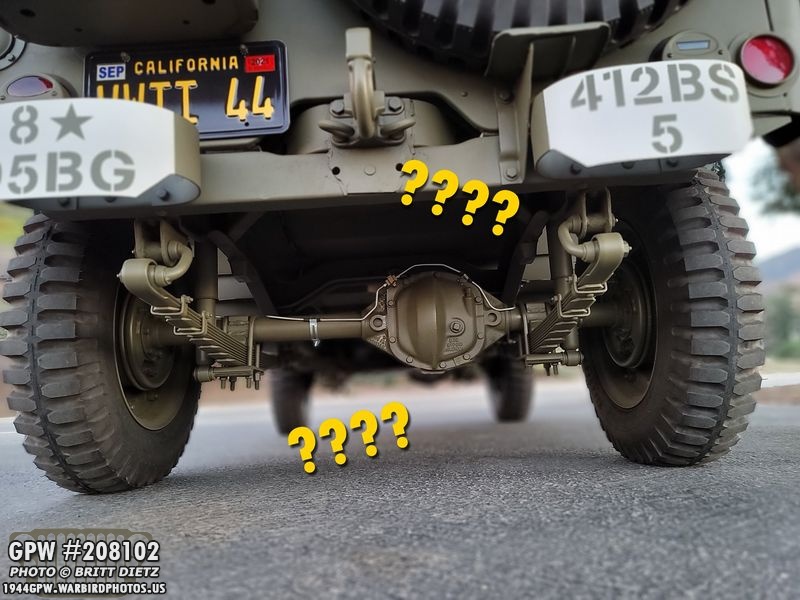
So the question is… what is the sound? Where is it coming from exactly? Is it the rear drive shaft? The rear axle? It’s not a bearing issue, as there’s no whine. Same with the ring and pinion, no loud whine. It’s a clackity noise. After talking to Roger, we decided on a test to make sure it’s coming from the rear of the Jeep.
My front drive shaft is still being restored, but I grabbed it and put it on the Jeep just for now. The idea being that possibly the noise was coming from the yoke on the transmission maybe wiggling around since the drive shaft wasn’t on it.
Another quick drive with the Jeep in 2-wheel and 4-wheel drive, the noise is STILL there. So not the yoke for the front drive shaft.

The second test, I removed the rear drive shaft and would drive the Jeep with JUST the front drive shaft in 4-wheel drive.

So only the front drive shaft is in the Jeep now. The idea being, if the noise goes away, we know for sure it’s the rear of the Jeep.

That worked, the noise was completely gone. I drove around the area several times and could NOT get any clackity noise. So that means it is the rear for sure. What the question is… what?

As I pondered that over, I went to work finishing the restoration on the front drive shaft (which I took off again). Since it appears to be okay and the front axle a big success, I wanted to finish this so I could be all done with the front.

The front drive shaft has a Spicer universal joint, and an unnamed one. Here’s the caps with the needle bearings after carefully sanding them.

So far, I’ve been lucky in that I’ve not had any incidents with the small needle bearings. The grease in the caps have been enough to keep the little needles on place, but I dropped one of the caps (whoops) and the needles fell out. Thankfully, they didn’t go far, and I was able to collect all of them. With a bit of patience and small needle nose plyers, I was able to get them all packed back in the cap nice and secure.
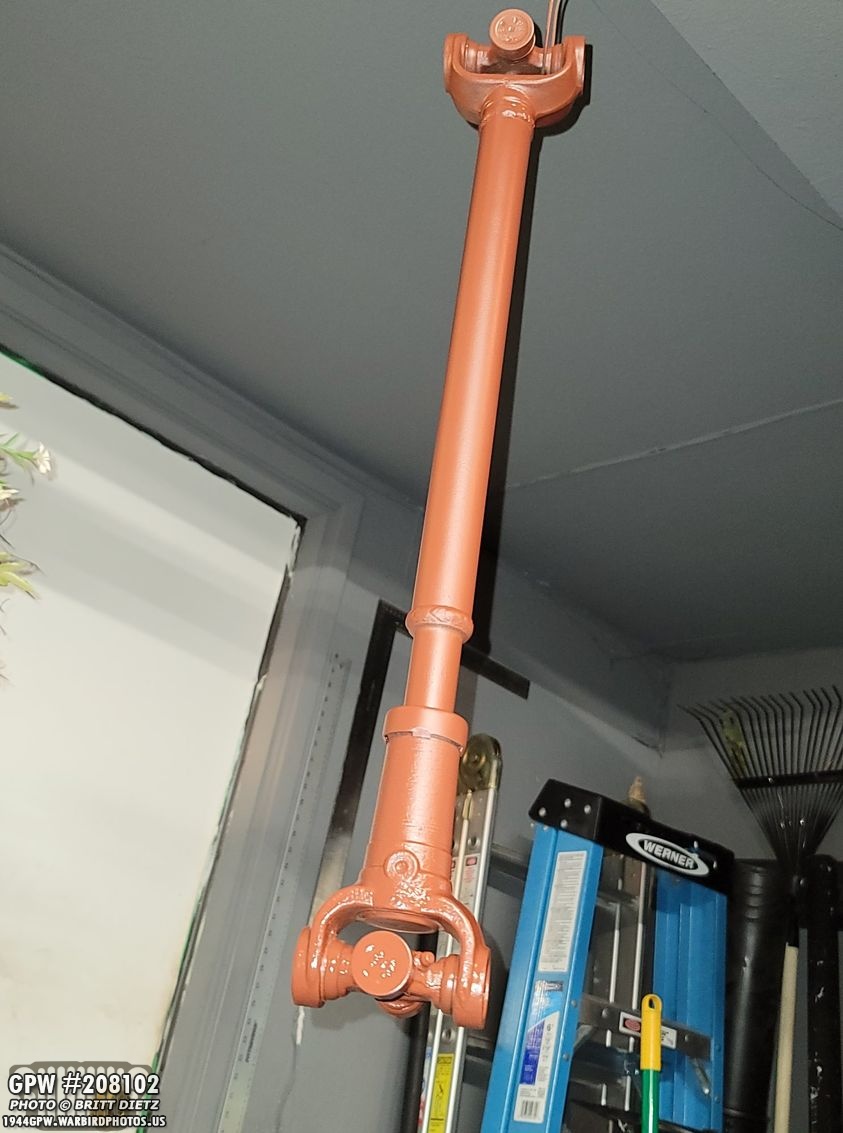
First layer of primer on the front drive shaft!

I also took some time to paint the final nuts, lock straps, and U bolts for the front drive shaft.
Final coat of primer drying on the front drive shaft!
And the next day, thankfully it was mostly warm, so I was able to get in three coats of 33070 OD Green paint with Ron Fitzpatrick Jeep Parts gallon paint.

It’s ready for reinstall for the final time!
Here’s the transmission side installed, but the lock straps are not bent over. Eventually, I’ll be taking this side off again when I drop the transmission to do a full overhaul sometime this year.
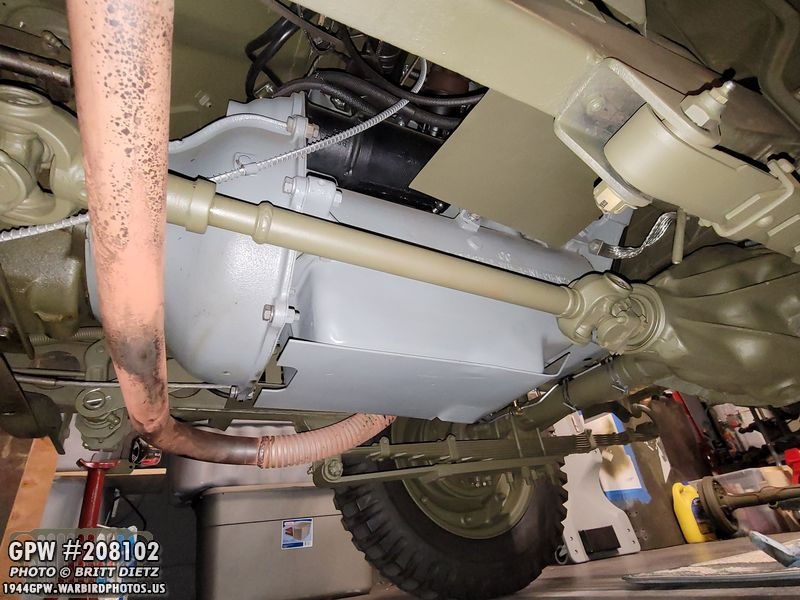
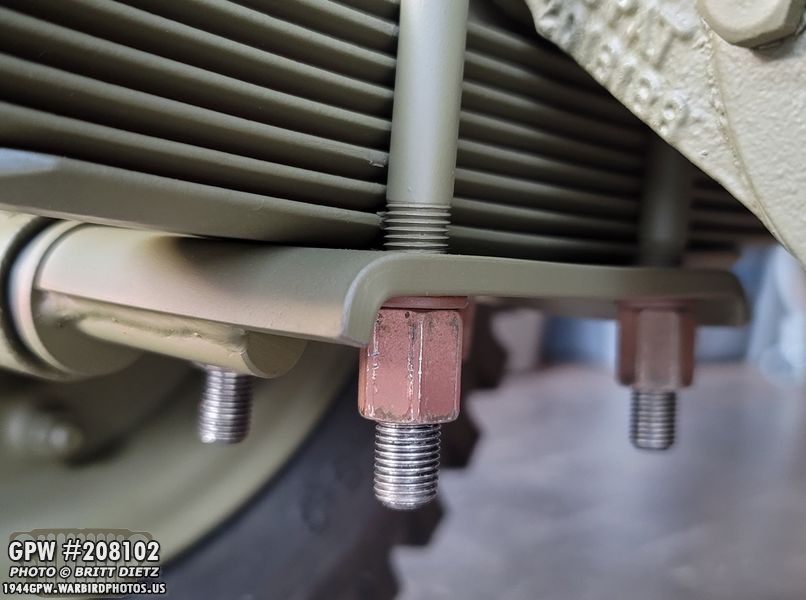
All installed and locked down! I still need to bend the lock straps, but I wanted to make sure all is good before doing that. With that installed, I could then reinstall the large skid plate.

Before reinstalling the skid plate, I tested the new bolts (including the F stamped one) with the exhaust tube strap bracket. Nice fit!

Here’s the other side showing the F bolt and the small carriage bolt.
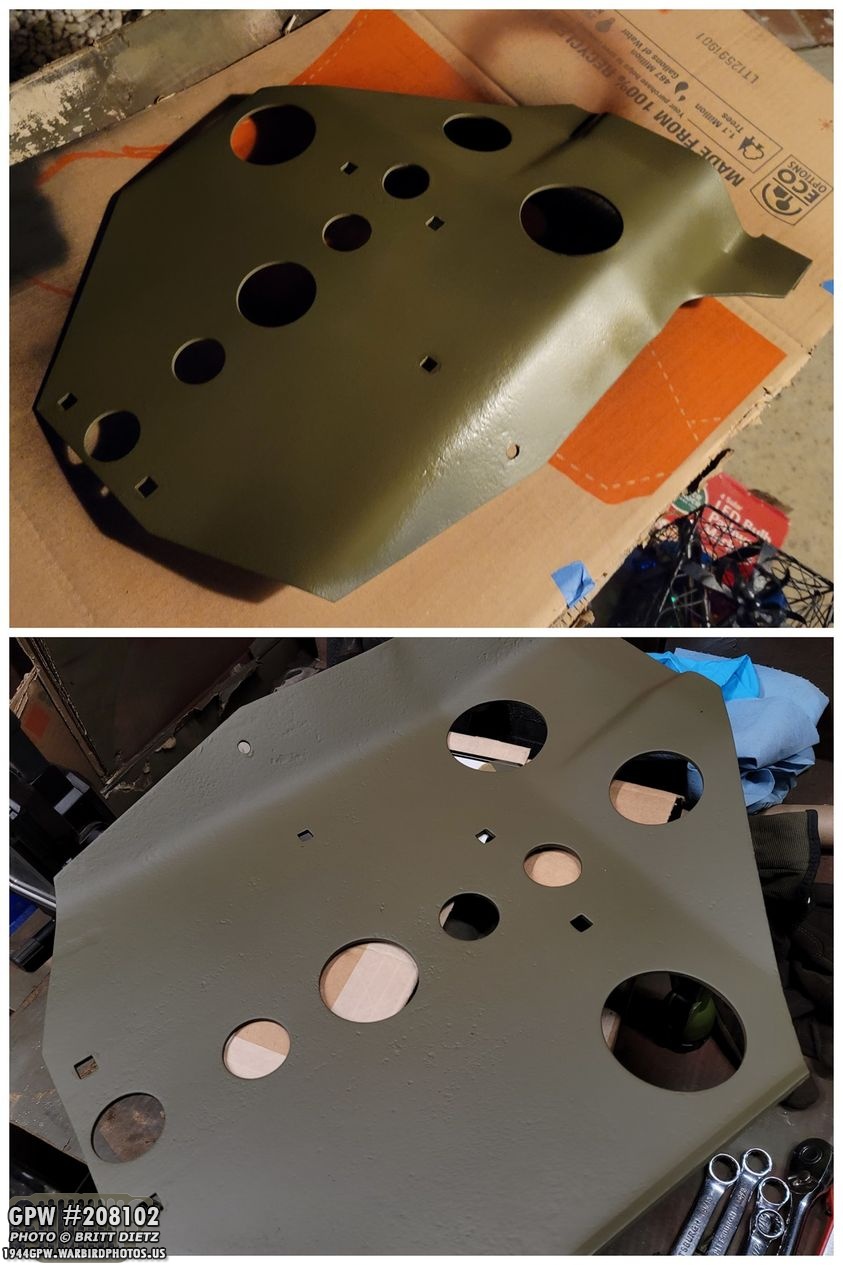
Before install, I coated the whole skid plate on both sides with a clear matte coat. This skid plate often gets coated with a LOT of oil from the weeping transmission. This will help me clean it a bit better from now on, and actually made it about as lusterless as the paint without a clear coat. Almost makes me want to spray the whole Jeep with that.

Sadly, I didn’t get a photo of the skid plate all installed (it’s a process to get that thing on and off! You’re working with very tight clearances that you have to get a wrench into to tighten nuts.). I then went and reinstalled the rear drive shaft, thinking maybe when I installed it the first time, I misaligned it which is what caused the clackity noise.

That made no difference, the clackity sound returned. UGH. So, it means I will have to drain the rear axle and look inside the differential. Until then, I decided to focus on other projects since the Jeep was going to be down again for some time.

Bringing out the trusty 1 ton crane from Harbor Freight, I lifted up the Jeep.

Back on jacks with the wheels off the ground, I had one more spring leaf plate I needed to replace.

Taking off the plate, you can again see just how much it bent on the GPW springs. I was able to get it to about 35-40 foot-pounds with this much bend… when the TM manual says to actually get 50-55 foot-pounds torque!!

Because of the plate bend, it also bent the U bolts. So I had to straighten them out, and I also re-tapped the threads just as a precaution.

After that, I touched up the paint.

Once again, Walcks4WD came to the rescue with their much thicker, stronger spring leaf plates. Here I’ve primed it with red oxide.

As with the two rear leaf plates, things went on just fine! I was able to torque them to 50 foot-pounds without any bend!
Nice and straight, torqued, and ready to go! Just need some touch-up paint.

With the plate installed, I was able to finally get the shock on for good! Both cotter pins were a bit difficult to install, but after some sore fingers from pushing the washer hard, I was able to get the pins in and bent over!

Moving on to the next project, a quick recap… The original hood on my jeep was too busted for me to be able to restore, so I bought and installed a repro MD Juan hood. I didn’t have my original hood numbers at the time, so I used the online generator to get 20540407 which I put on. Early in 2020, I took the time to wet sand and found the original numbers on my Hood, which were only 51 numbers off from the online generator! Then, in October of last year, I was able to pick up an original GPW hood which I completely restored to replace the repro hood.

I installed the newly restored hood a few weeks ago, but it’s been missing something… markings! With the correct hood number in hand, I could finally put the correct numbers on!

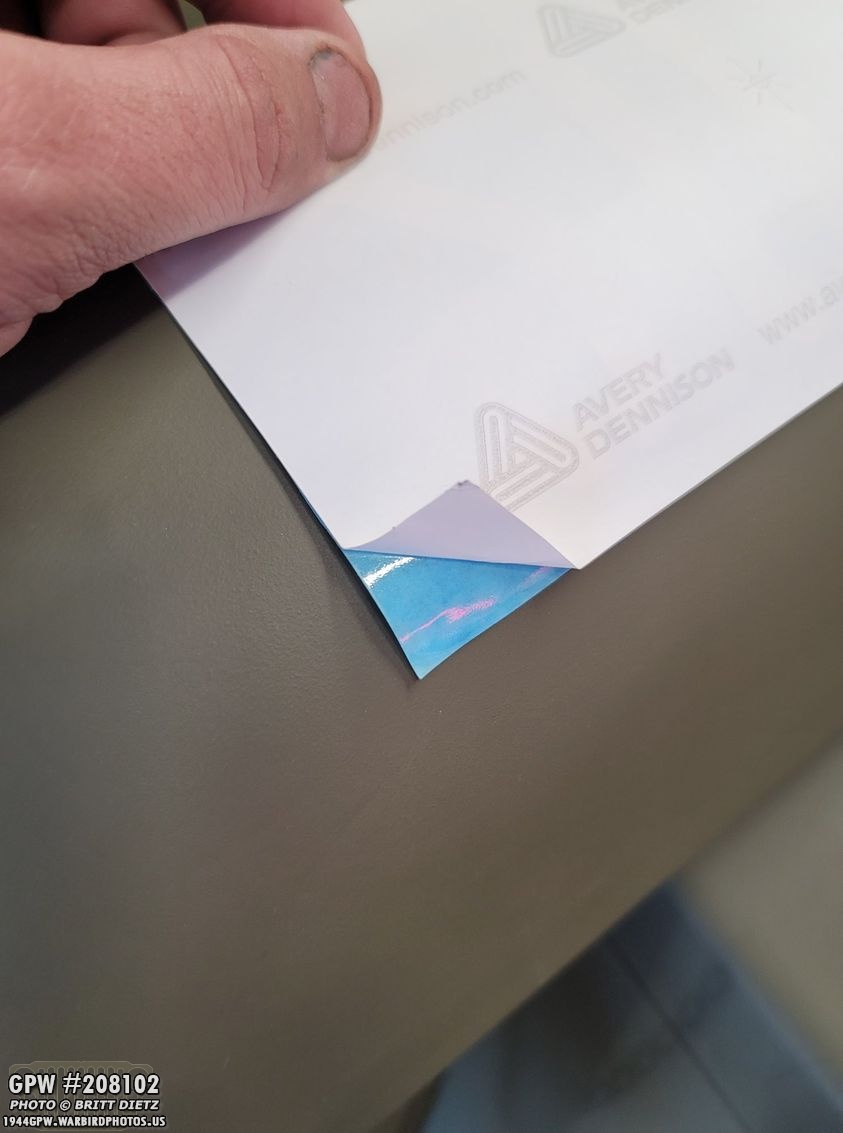
Once again, I got stencils from Military Stencils By Axholme Signs after consulting with them again. I also changed up the star this time, to something more correct for my Jeep’s time period. Here’s when I first got the stencils, testing out the fits.

To help with the install, I sat items on top of them so they flatten out. It doesn’t take long for them to flatten. The stencils arrived in tubes, so they had curls.
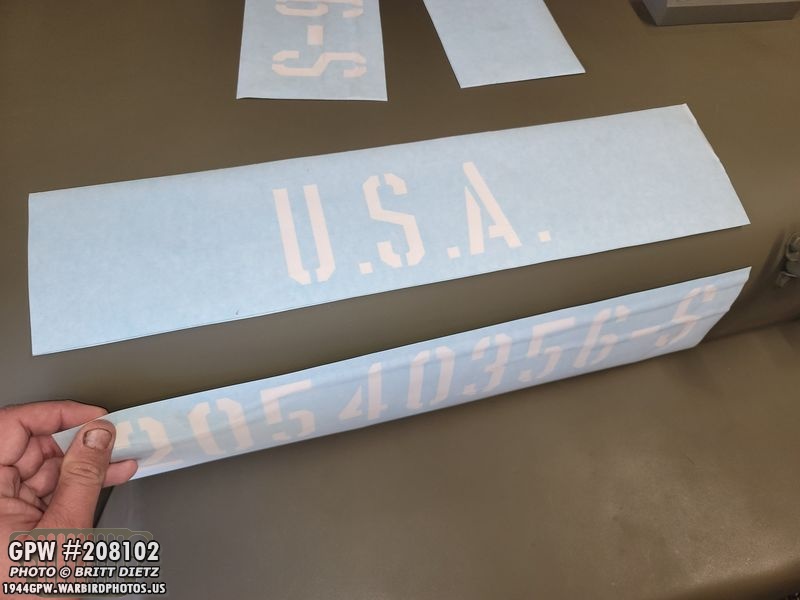
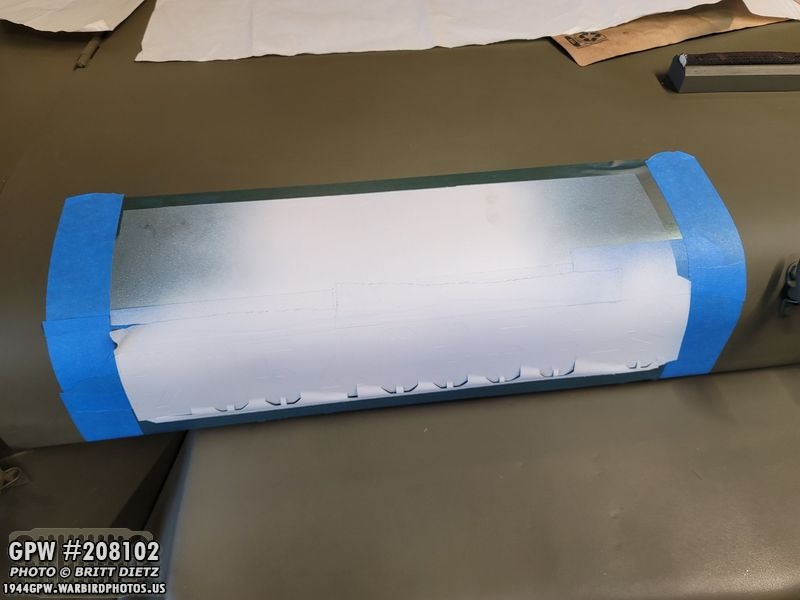
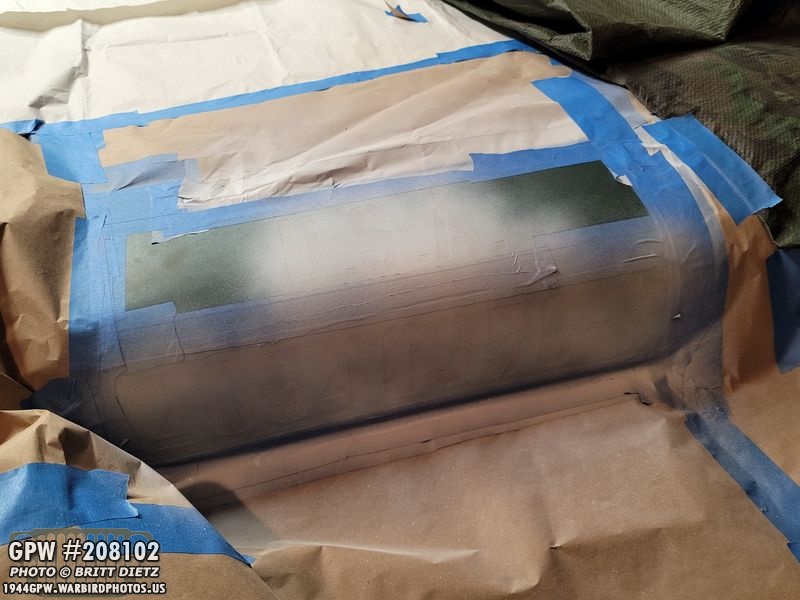
First up, installing the registration numbers! I cut the USA from the numbers, as on AAF Jeeps, the USA is often a bit higher.
I get things started, like the repro hood, I lined up the bottom of the stencil with the bottom of the hood. I used painters tape on the top of the stencil to hold it in place.

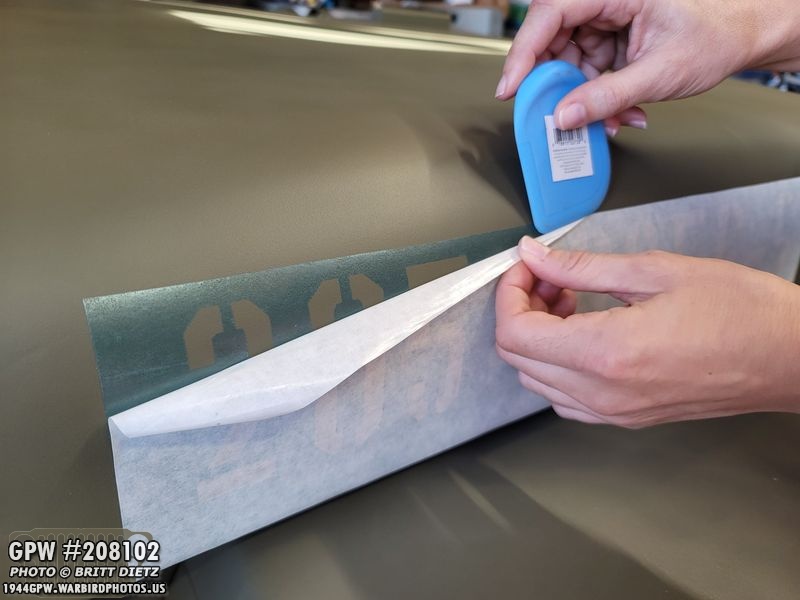
Putting the hood back down, it was time to remove the first layer.
With the tape holding it in place, rotate it over, and start to peel away the white backing layer.

(It helps to have someone to help, as my girlfriend is here) As you peel away the back layer, slowly have someone used a flap scaper to push down on the stencil as you go along. This will help remove air bubbles.
Now you can remove the painter’s tape, and remove the top layer. This takes a bit of patience (and two people) as one person pulls off the top layer, slowly, and the other pushes down on the stencil as it wants to go with the top layer.

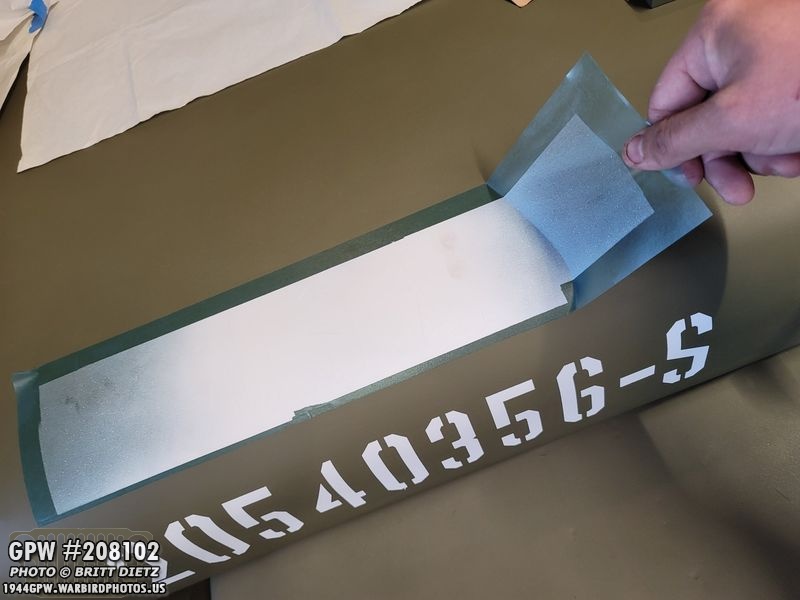
Once the top layer is off, I use a piece of the bottom layer, which is slick and smooth, to rub-down the stencil making sure it’s nice and attached to the hood with no air bubbles or areas where the paint can get underneath the stencil.

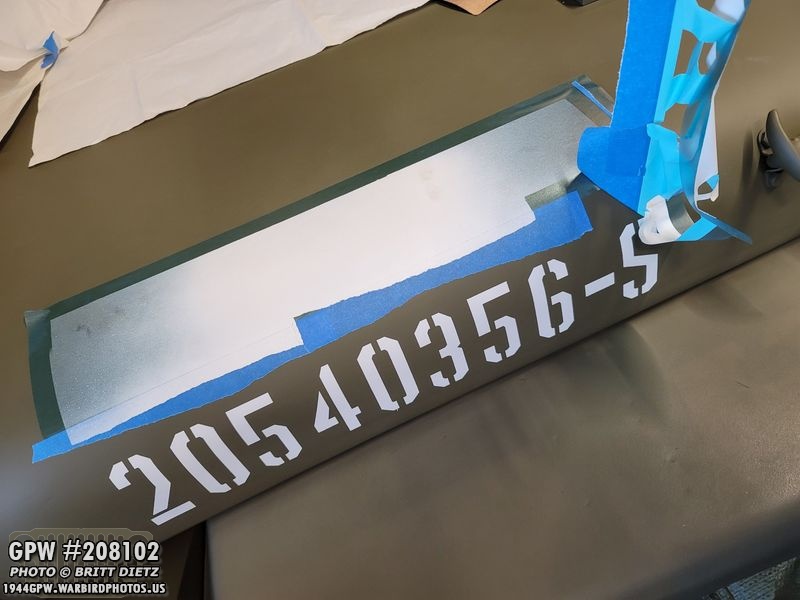
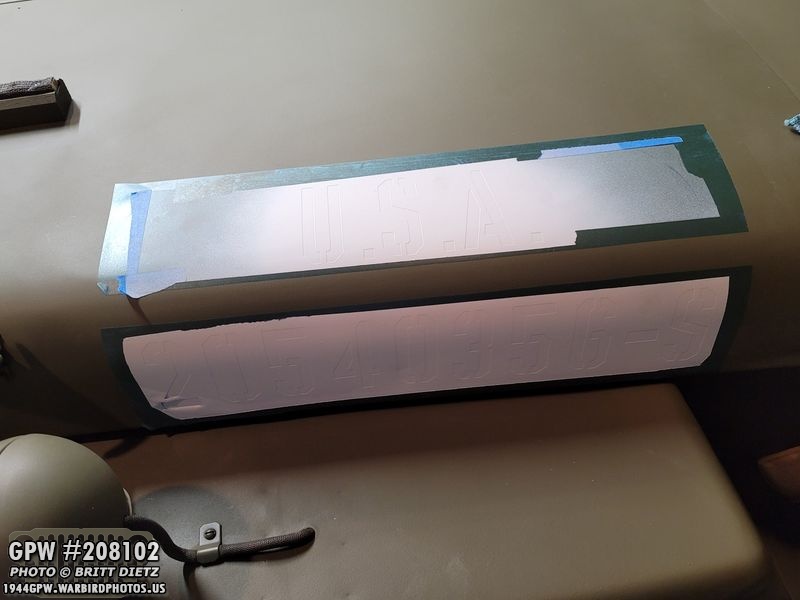
The registration number stencil ready to go! Now for the USA.
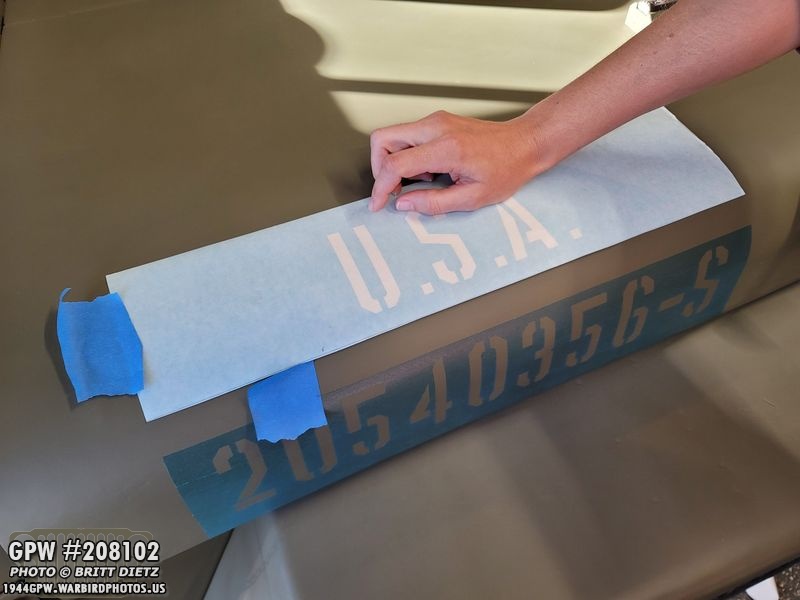
To make sure the USA was high enough, we measured 2 inches from the stencil below. We used a piece of tape to make sure it was 2 inches between the two the entire way.

Same as before, taped the top of the stencil and rotated it over.

With the rear layer removed, next up is the top layer.
And the USA stencil now on! Ready for masking!

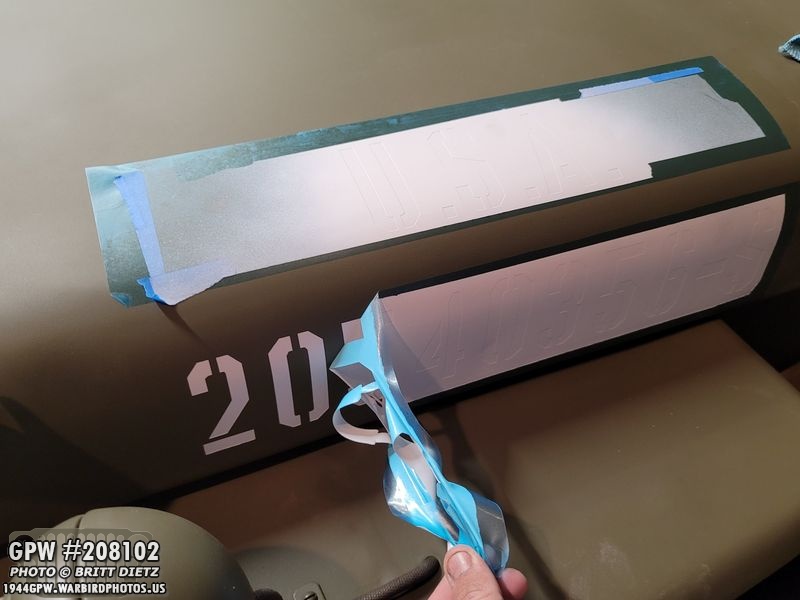
I started with the outside edges of the stencils, which were the most important. The further out you get you can use butcher’s paper or newspaper, but these areas are the most cruicial.

The white paint gets everywhere. And I mean everywhere. So make sure you really mask the Jeep well. Yes, if you’re going for the ‘true’ WW2 look, there will probably be an overspray of white. But, with all the work I went into my paint job otherwise, I like the clean look of the numbers. I’ll chalk it up to a GI who took pride in his stenciling job! Especially since it’s an ‘airfield Jeep’ where the hurry of war wasn’t as crucial for these Jeeps.

I’m using Rust-Oleum Pro High-Performance Enamel white. It’s nice and bright, dries really fast, and doesn’t fade.

Three coats, one very light coat to start, then two heavier two coats to finish it off. You don’t want to keep the stencil on for too long, so you want to do all this fast. I left about 5-7 minutes between each coat. It was pretty warm so it dried quickly.

Finally, two quick coats of clear matte to finish it off. This will protect the white paint from UV and yellowing, and also make it easier to clean.
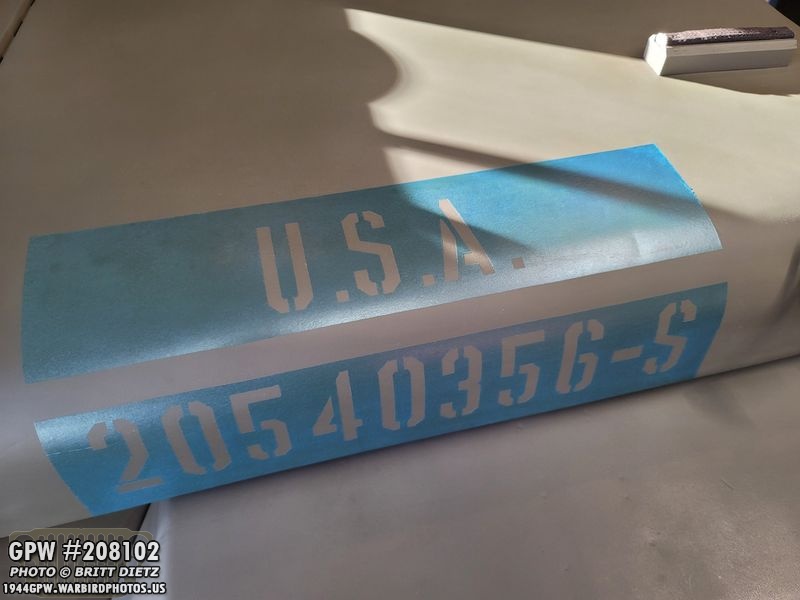
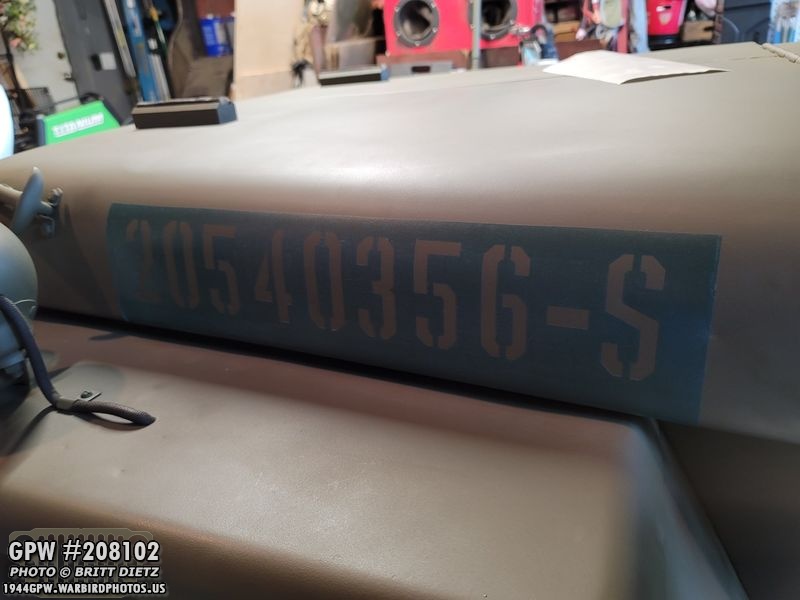
After the second light coat of the matte clear finish, I started to remove the masking.
Moment of truth! It’s always a bit nerve-racking taking off the stencil (which is one-time use).
And removing the top stencil…

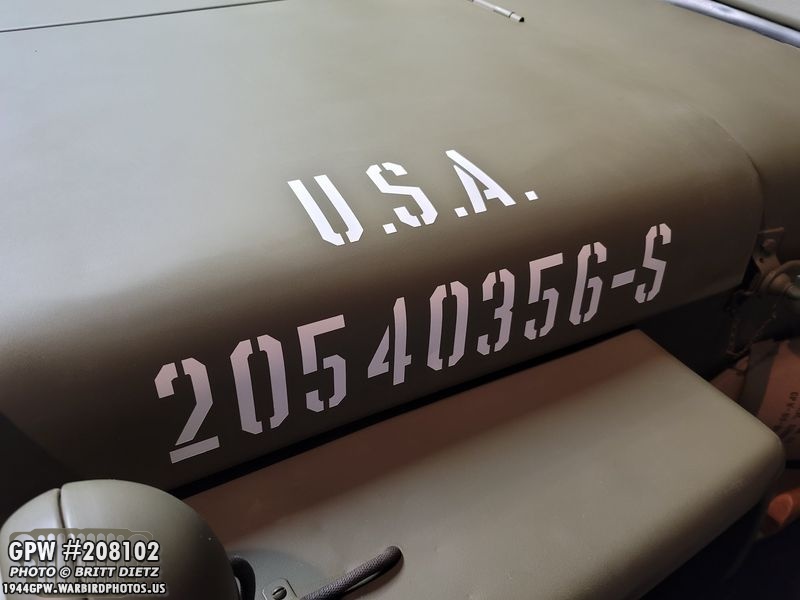
Worked GREAT! Looks nice and crisp. Again, some might not like that crisp look, but I do.

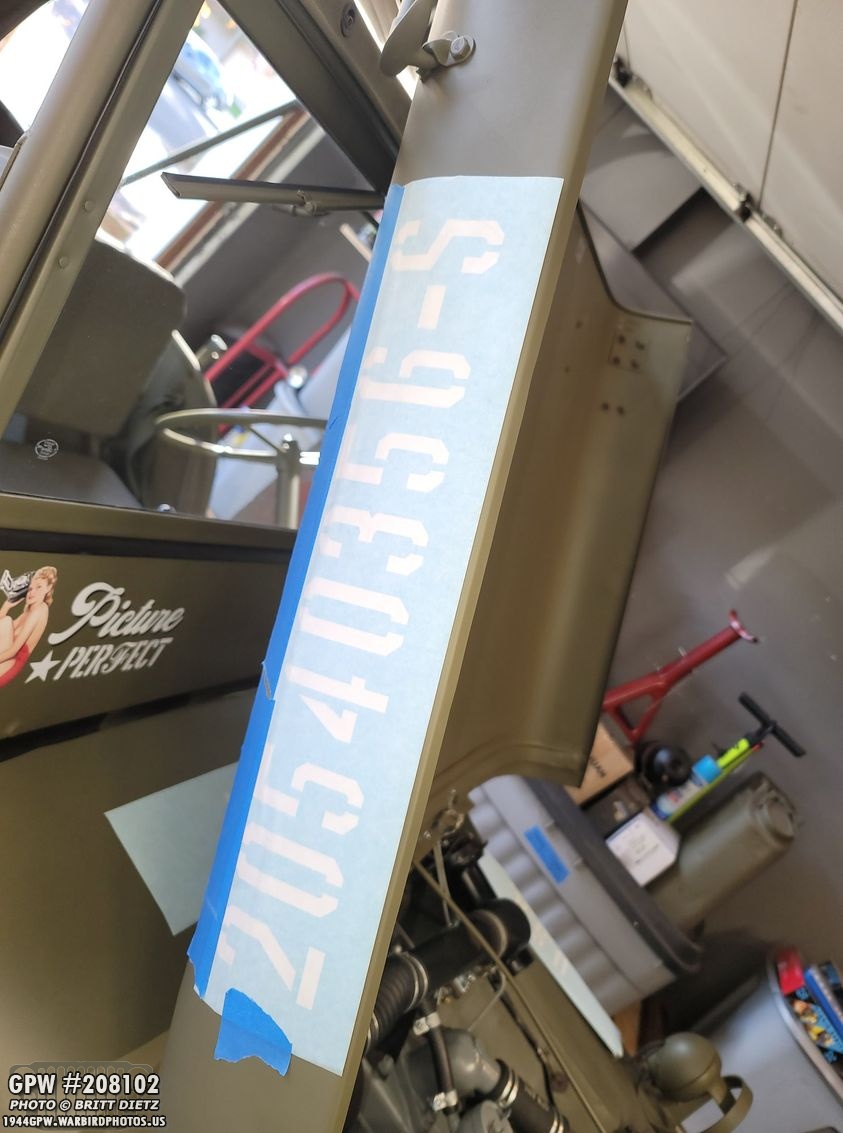
Now on to the other side to do it all again! Same as before, bottom of the stencil is lined up with the bottom of the hood.
Bottom and top layers removed.

USA stencil added. Ready for masking!

All masked up. This side is harder with the fender blackout light.
First light coat added.
After the other two heavier coats then the two matte clear coats… ready for removal!
Looking good so far!

Another success!
Perfect!

And with both the side registration numbers added, next up is the main star! Look for that in next week’s update!
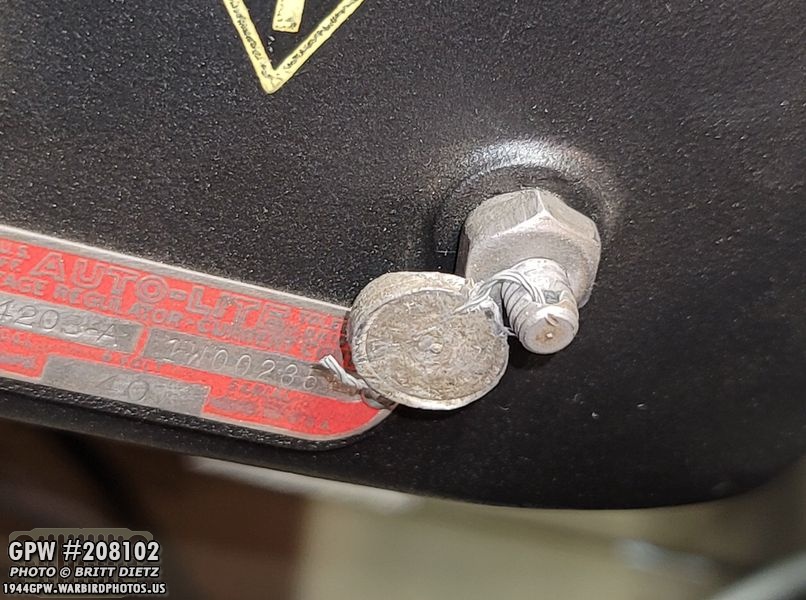
Moving on to some other fixes, one thing I’ve been waiting a while to finish, I finally got a lead seal crimper to crush the voltage reg lead seal. Here it is, nice and crushed thanks to Roger Smith’s crimper. He also sent some extra lead seals, which I will need once I get 12v internals for the voltage regulator when Joes Motor Pool releases them.

Another item needing to be done is spot welding the bond strap to the exhaust pipe. I had tried to solder it, but that didn’t work. So I dropped the welder settings to the lowest possible and used the bond strap for the ground. I used a piece of painters tape to hold it in place until I had the first spot weld on.

It’s not pretty by ANY means, but a few tap welds on both sides, it’s now a part of the exhaust pipe. I can’t imagine the original welding for these bond straps was all that great anyway.

Next project, I always felt my hood bond straps were not right. There seemed to be too much bond strap for the positions. After looking through several forum posts on G503 and a few books, I realized that around the time of my Jeep, they switched to more of a slanted position on the straps with the bottom of the strap moved one bolt inward.
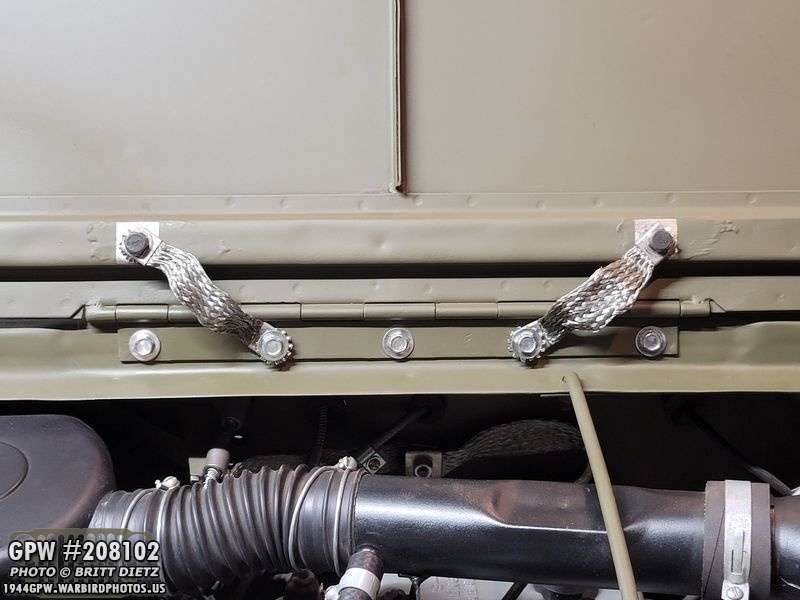
After redoing the bond straps, here’s how they should look. This was done to help prevent crimping of the bond straps when in the vertical layout. I actually think this looks much better anyway! With a touch up of paint, it’s all finished.

Another nice correct detail for the Jeep.

Going back to that clackity sound, I will be diagnosing that issue this weekend thoroughly checking out the entire housing. This also means that I’ve finally caught up with the updates! Hopefully, this issue can be figured out and a somewhat easy fix can be applied.

So, that’s it for this week! The good news, the Jeep drives and brakes GREAT! The bad news, something’s wrong with the rear axle. But, once that is fixed, this very long journey for the last few weeks will finally be over! Till next week….