 Work here and there…
For the last two weeks I’ve been working on the Jeep when I can, but it’s been busy with the Planes of Fame Air Show 2019 and several air to air photoshoots. But things are getting back on track and there’s a lot to update on the Jeep, so let’s go!

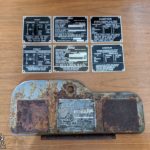
Lots of goodies arrived from various places! Clockwise from the top left: canvas covers for the headlights, ground/bond straps for the Jeep (for grounding and radio suppression), steering box repair kit (bottom row, more on that later), and a special tool to help put the rivets on the new data plates to the glove box door.

More goodies… in the last update I had mentioned that I was going to get new gauges for the Jeep, because my gauges were looking not so great, and while original, will bring down the look of a nicely restored Jeep. So I got brand new replica gauges. I also got the correct TM9 data plates for my Jeep.

Here you can see the two replica data plates. The top set is the wrong ones, so I researched my original ones on the unrestored glove box (bottom) and got perfect replicas this time (middle). They have protective film on them, which I’ll remove and get them stamped the same ways as my original plates.
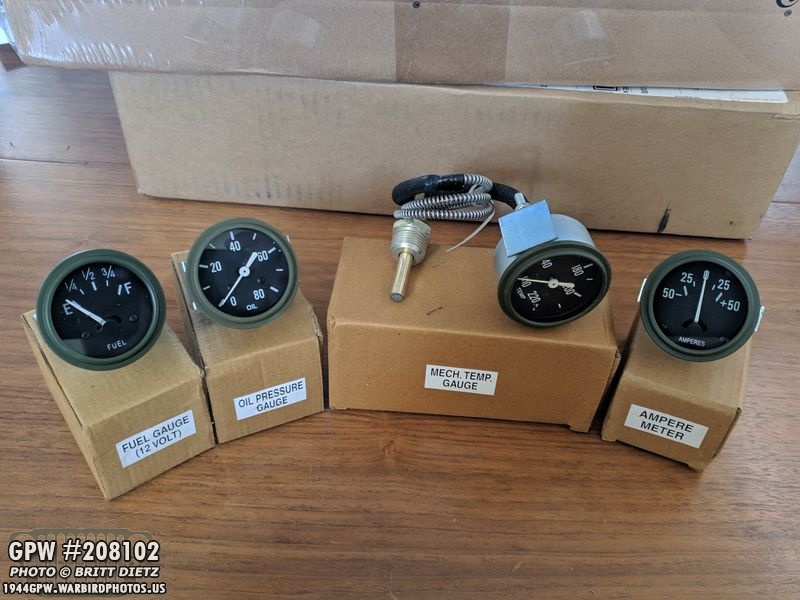
Here’s a look at the brand new gauges, and they sure do look great! Each one is a high end replica. I did find out that they were actually MB type replicas, not GPW (main difference is font styles). It’s close enough, and exact GPW replica gauges of these are impossible to find.
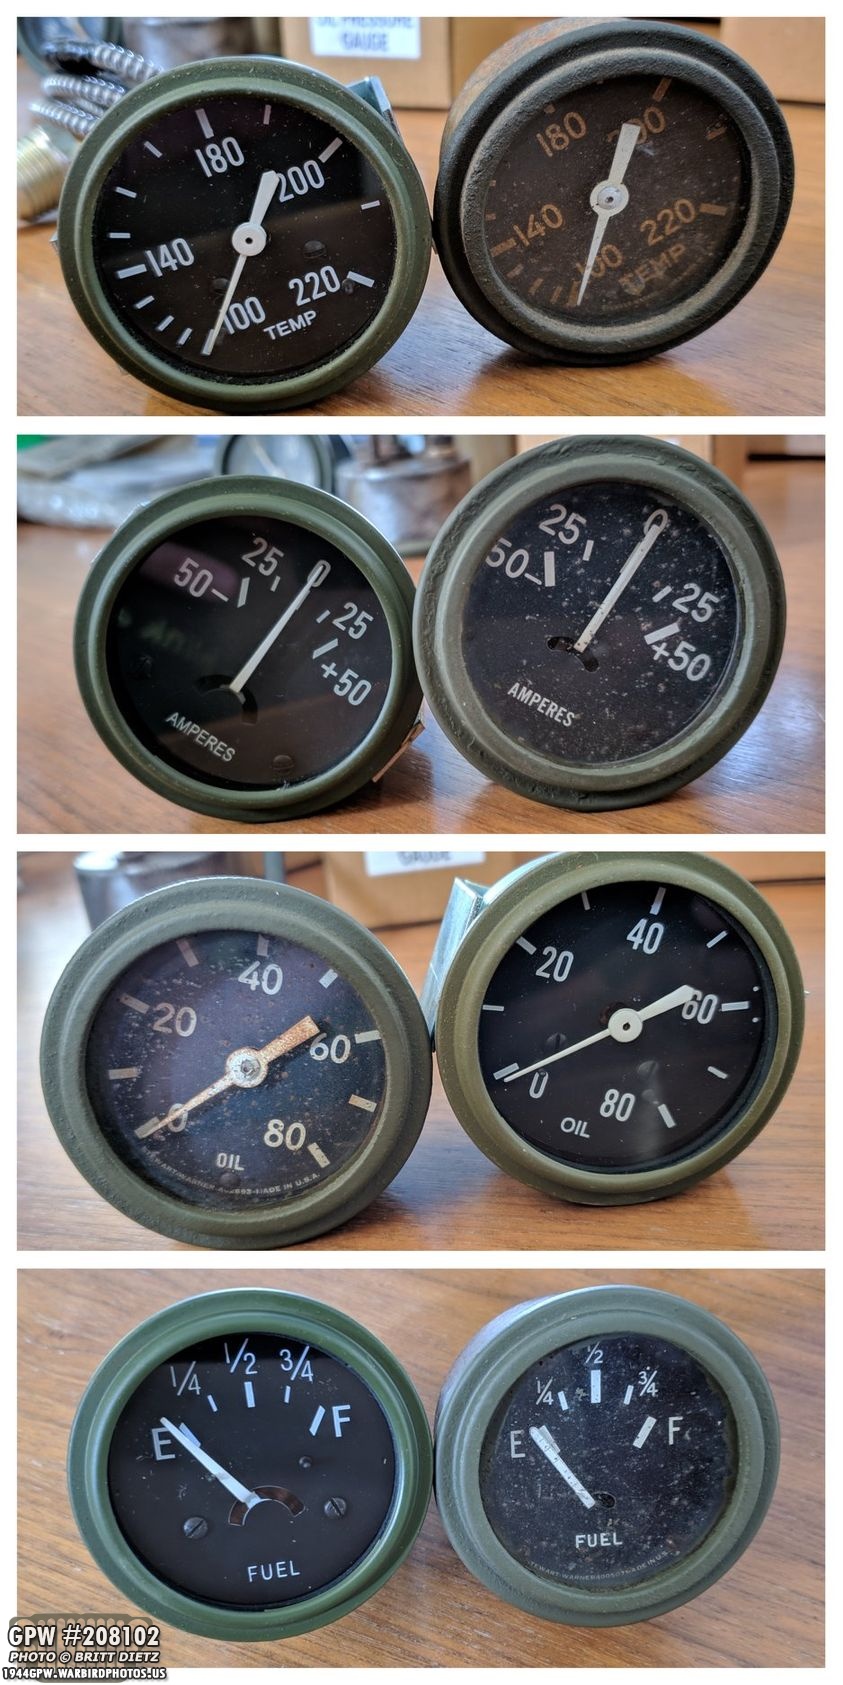
And here’s a good comparison between the replicas and the reproductions. The new repros are on the left (except the oil gauge which I switched, whoops) and the original GPW ones on the right. I got all the high end replicas at Kaiser Willys Auto Supply.
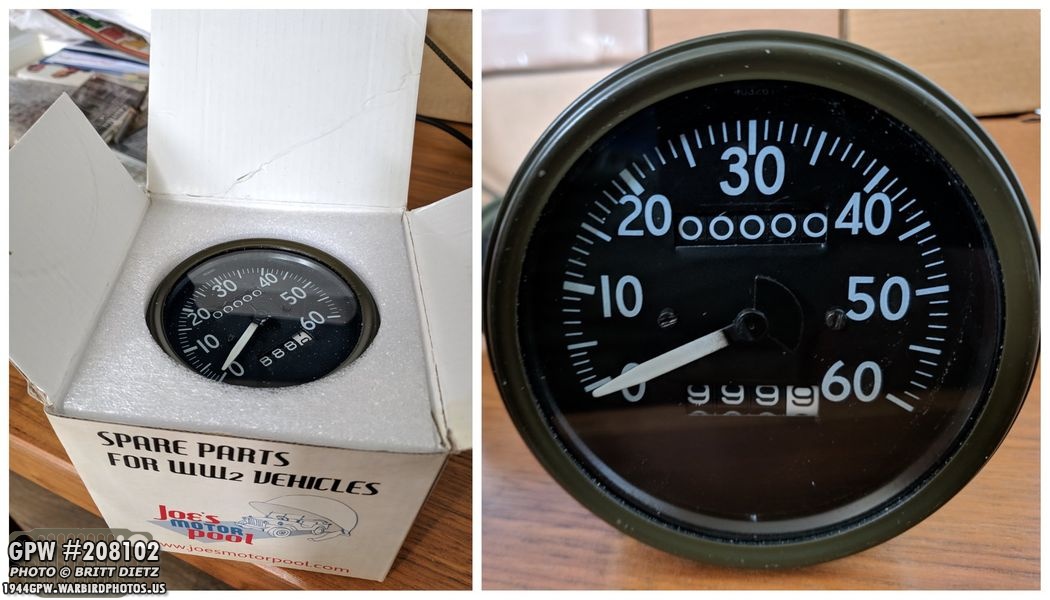
I did, however, find a perfect replica GPW style speedometer. Turns out, my speedometer is actually post-war, so I decided to go ahead and get a correct GPW style replica. Joes Motor Pool did a fantastic job with this, and it came packaged really amazing.
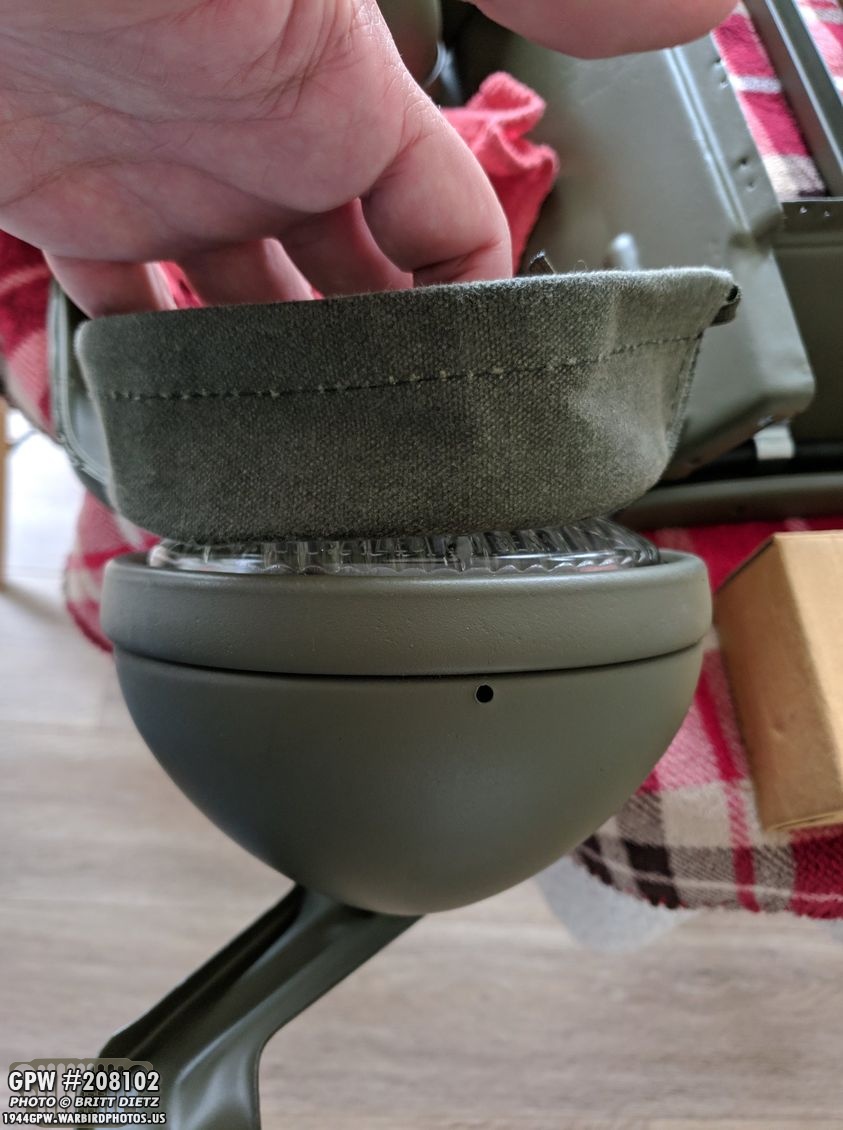
But, one hiccup, the headlight canvas covers didn’t fit! Uh oh! Turns out, they were made too small. I contacted the seller…
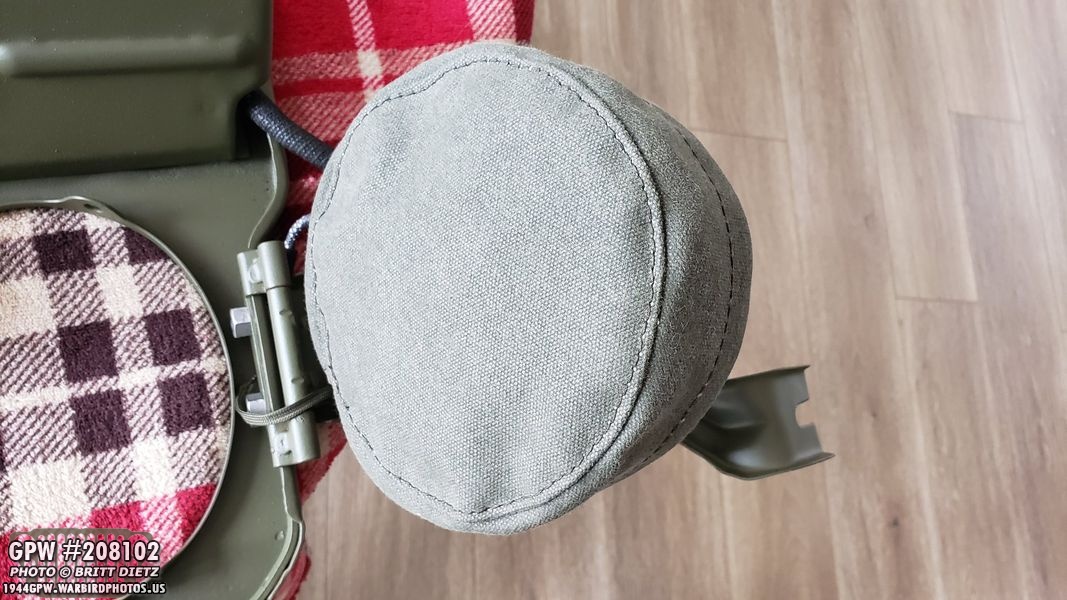
Who sent out another pair that fit perfect! Great! These help protect the headlights when they are no used. I like the look too!
Back to the tires, more work continues on them! It was a pain trying to use painter’s tape to mask off the entire wheel, so I got the suggestion to use vaseline instead… because paint doesn’t stick to vaseline. Turned out to be a total mess and took way longer to clean up than if I had just masked it off in the first place.
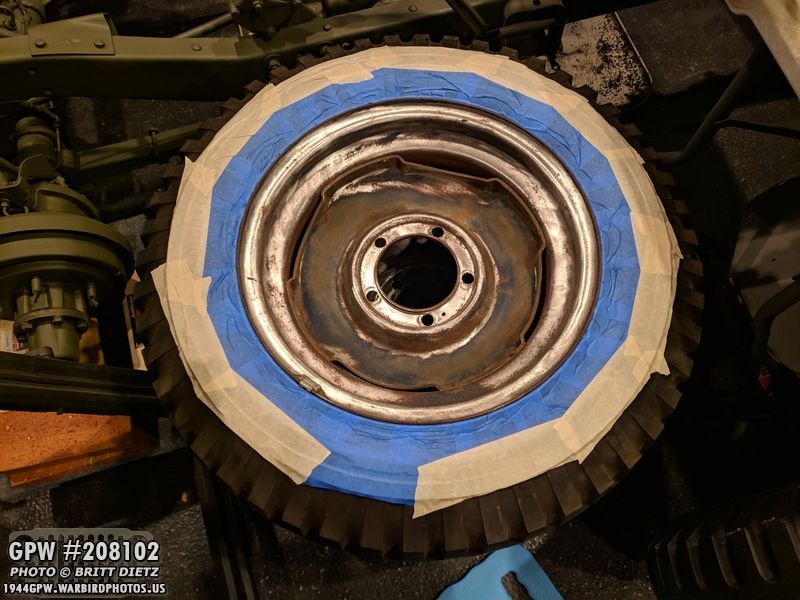
So I just decided to take my time one event, put on a movie in the garage, and slowly mask the rest of the wheels front and back. Here’s a look at the backside of one of the wheels (remember, I only lightly sanded/wire wheeled the back of the hubs because 1) they are not really seen, 2) less time spent, and 3) eventually I’ll replace these rims with combat rims)
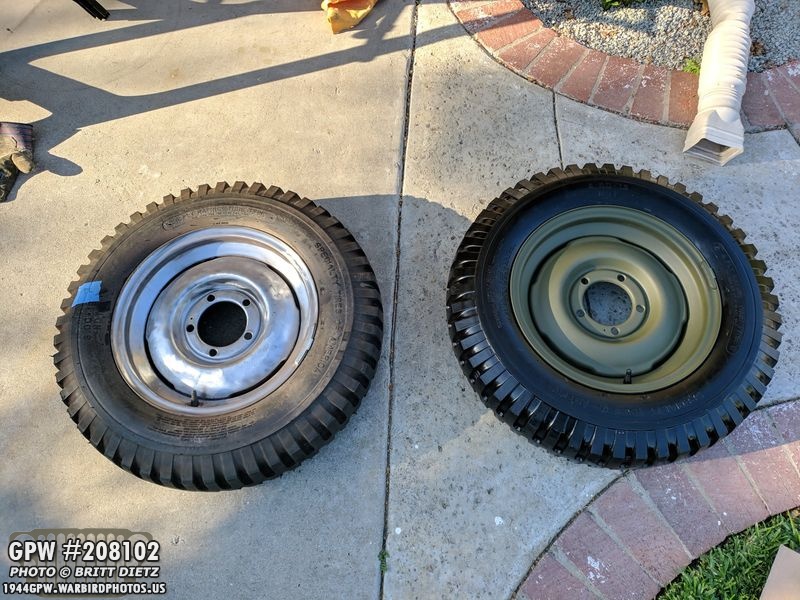
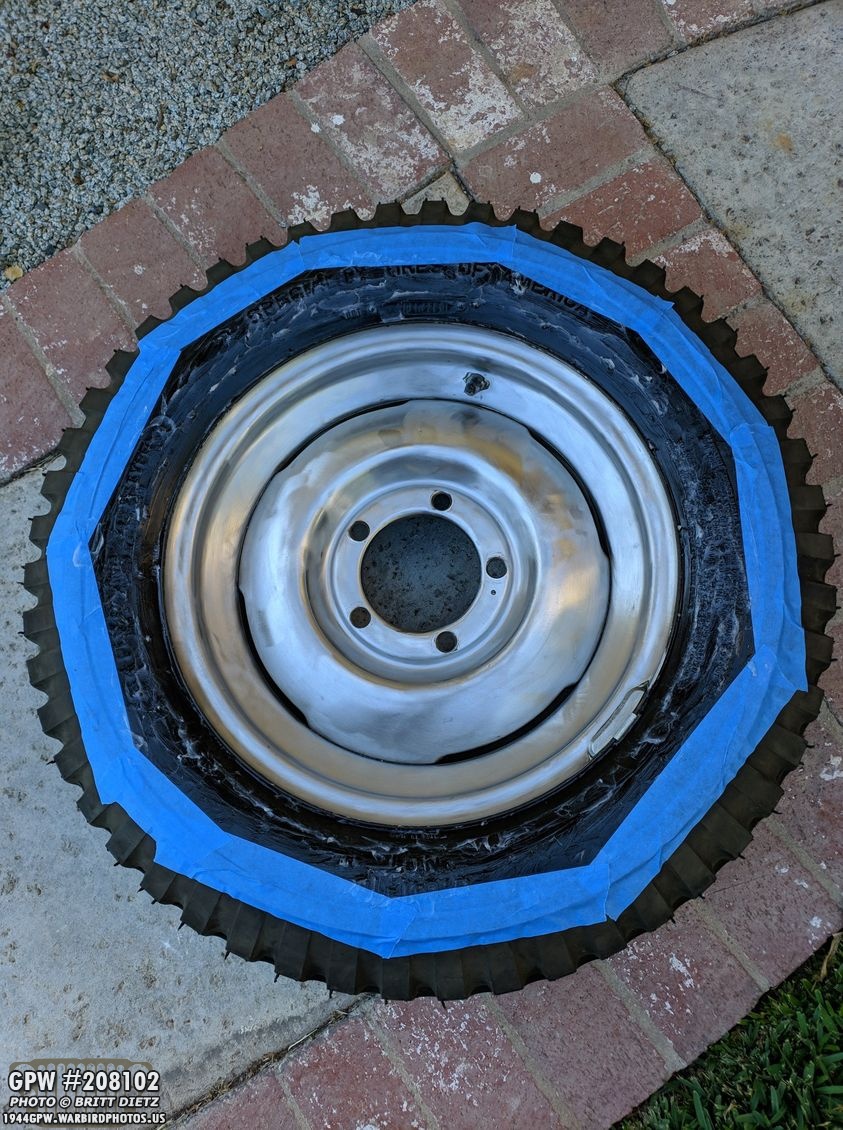
On the right is the first tire done! You can see the difference between the one on the left that was just getting started after wire wheeling! I put ArmorAll tire spray on the right one as well, and it almost looks like a brand new tire!
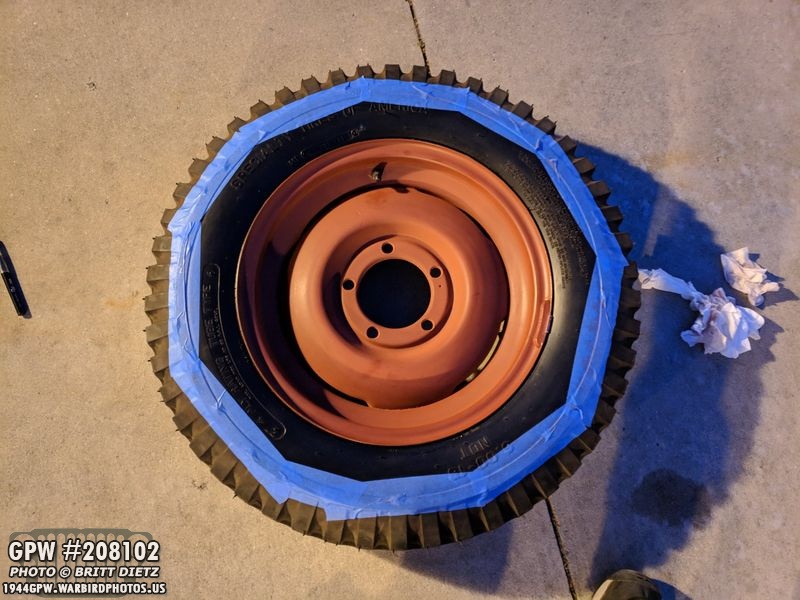
Back to that tire with the vaseline, it took about an hour and a pile of paper towels/shop towels to get all that vaseline off. After it was all off, I just went ahead and masked it like the others.
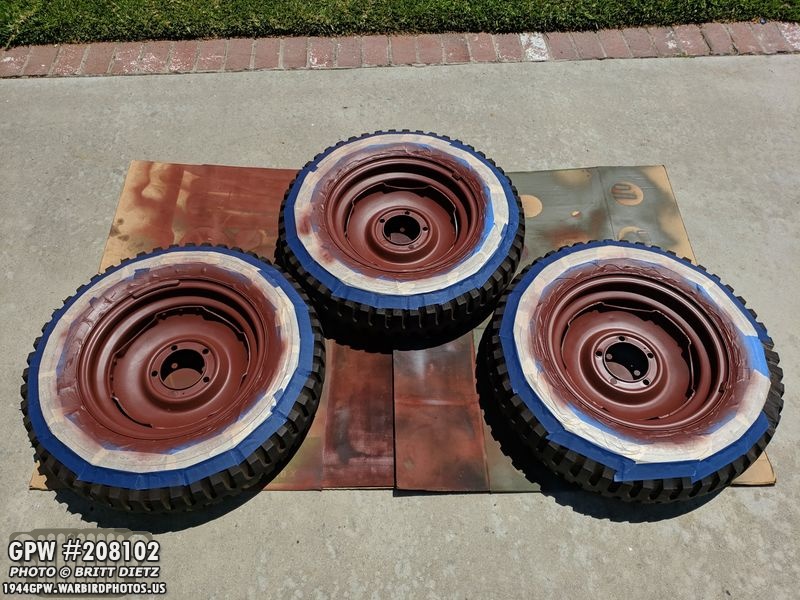
The other three tires with their red oxide primer drying in the sun.

And then the next day, I pulled out the paint gun to hit some more items with OD Green (with the new gallon of 33070 paint I got!). The tires now have their first coat of OD Green on both sides, and I gave the driver’s side fender some touch-ups after installing the headlight swivel hold-down bolt.
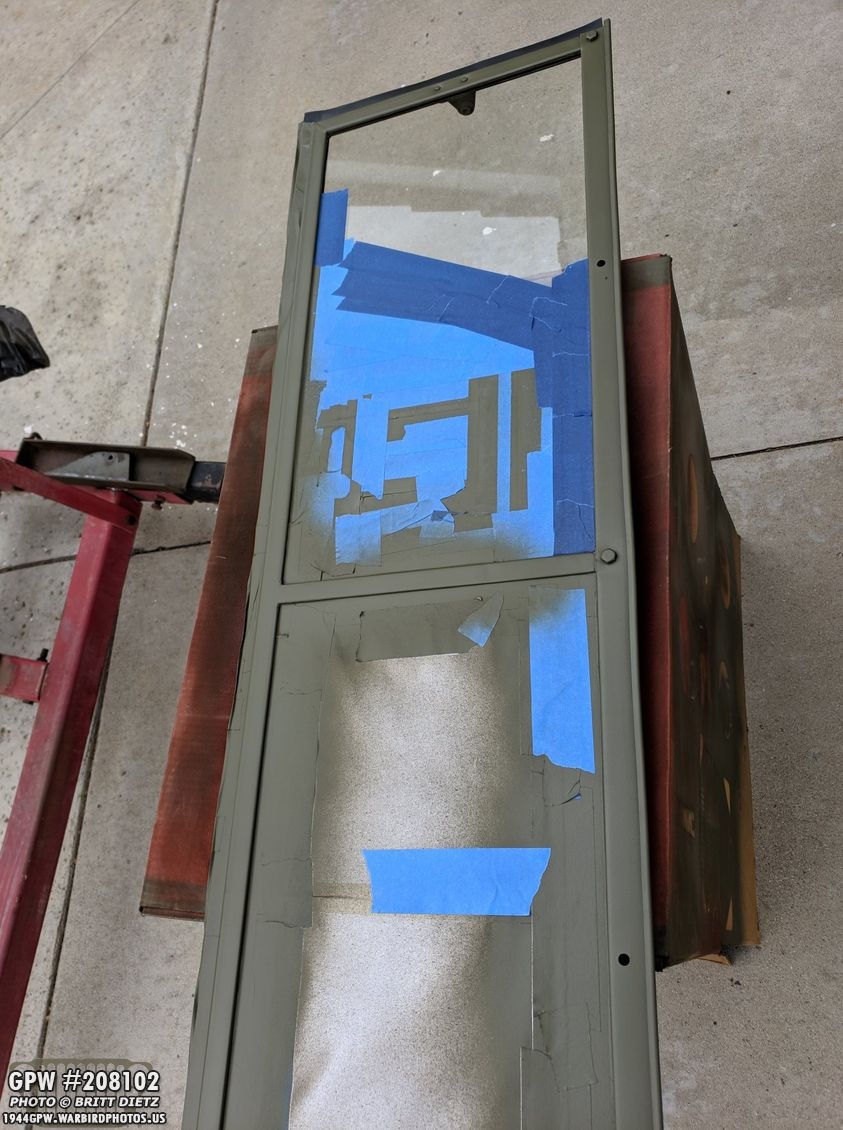
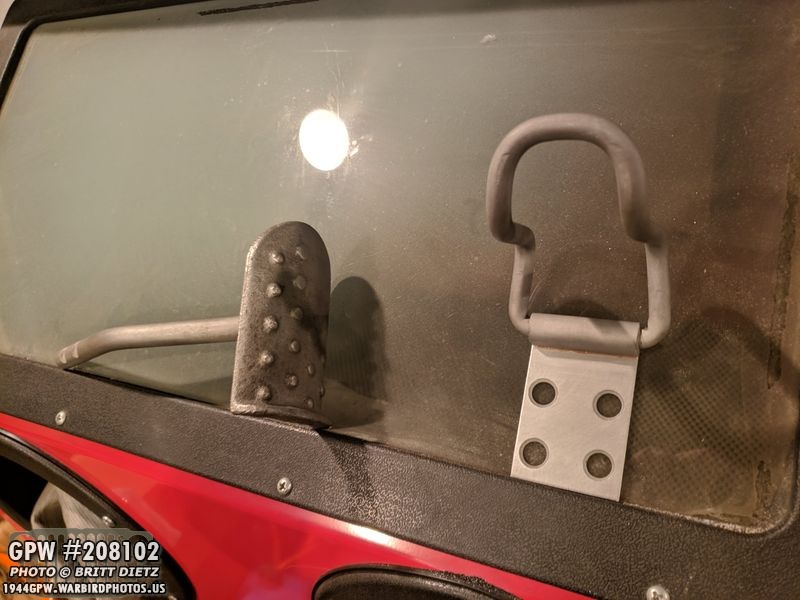
Doing some final touch-ups on the inner windshield before reinstalling! It should be finally ready to install this coming week!
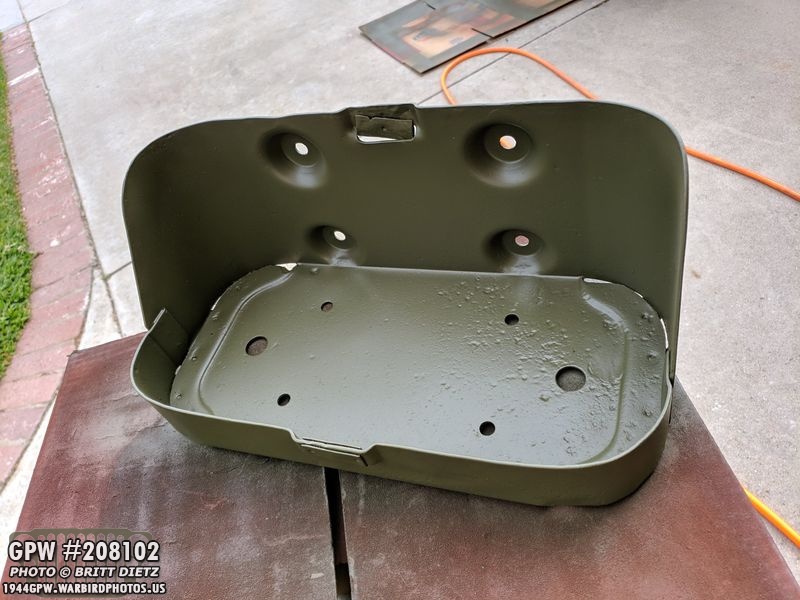
A final coat of paint on the Jerry can holder. Looks nice.
I had to sandblast some bolts, so I took the time to sandblast one of the foot pedals and also the axe hold down bracket.
Here is the axe hold down bolt getting some red oxide primer. Couldn’t find any F stamps on it sadly.

It was time to reinstall the CJ Steering on the Jeep! Again, my Jeep came with CJ2 steering and CJ2 axles (CJ being post-war civilian jeep). If you’ve been following for a few updates now, I removed a large c channel bracket that went from where the steering is mounted under the front cross channel to the front bumper to make it look more correct. I then trimmed down the mounting plate so it hides better. This is all until I can get some wartime GPW axles and steering to replace these with.

First up is to hit all the bolts/washers/nuts with red oxide primer. I’ll paint them OD Green once the steering is put back on the Jeep.
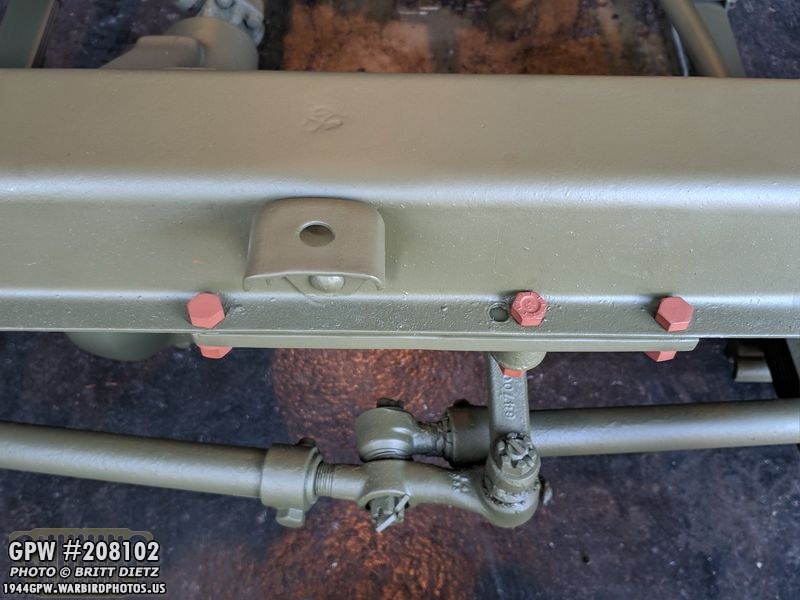
The mounting plate is installed, and it looks great now! No awkward channel going to the bumper and no oversized mountain plate. Still not wartime correct, but looks a TON better. You can see the mounting plate below the cross channel and the primered bolts put on.

Hit with OD Green now, and it blends right in. So much better, I didn’t like how it looked before and it really bothered me, this is so much better!
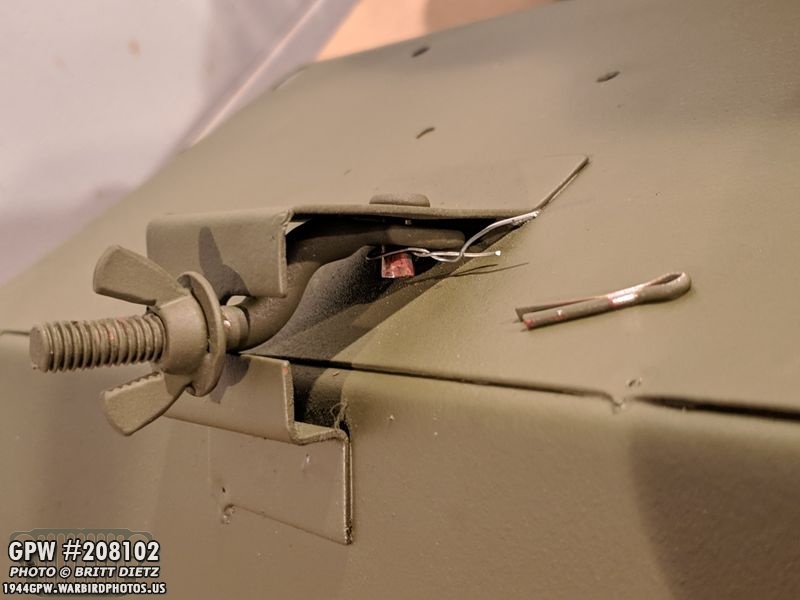
(this should have been before the wheel photos), here I’m installing the headlight swivel hold down bolt onto the driver’s side fender. It’s usually held in by a botter pin, but for the life of me I could not figure out how to get that pin in there. Long story short, I had to install the little bolt backwards and use some wire to hold it in. I found a tiny cotter pin that I’ll replace the wire with. Works for me!

Started to add the horn wire back into the steering shaft. This is the button at the top of the shaft that, and you have to run the wire all the way down the shaft to a little hole…
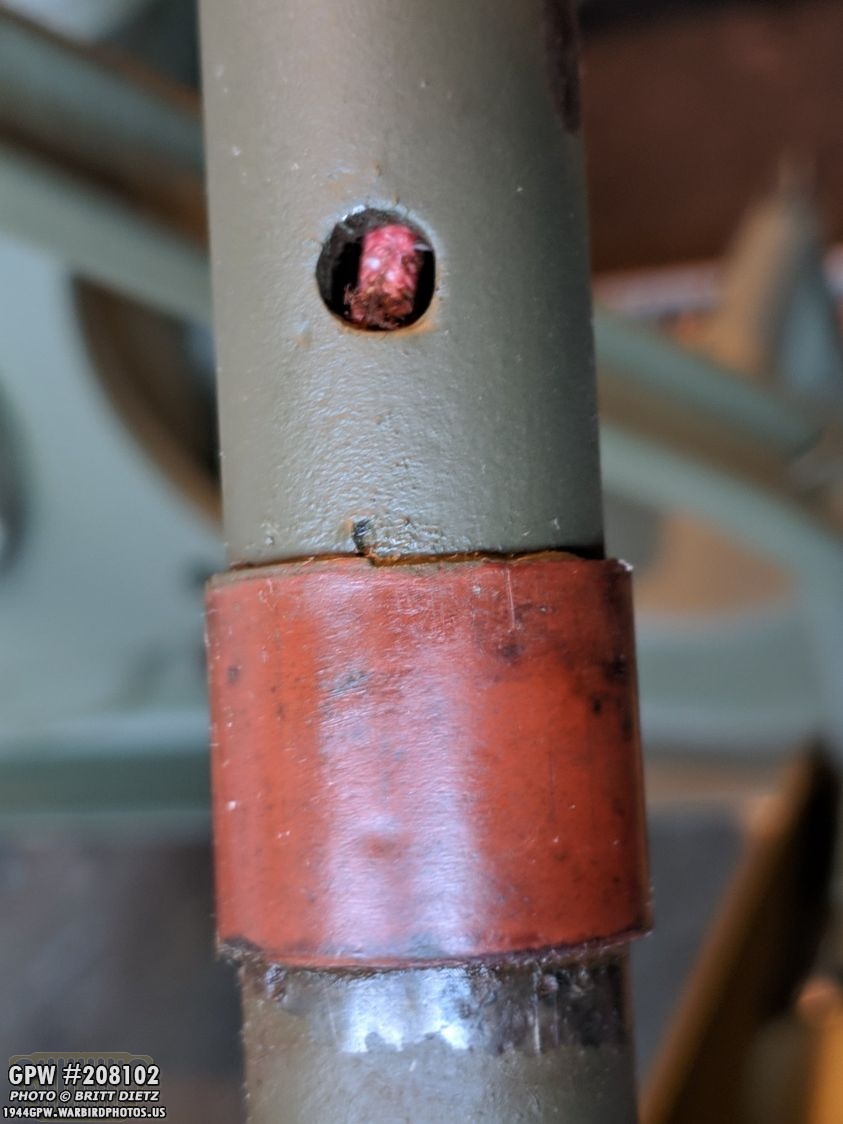
That you have to pull the wire through. I thought this would be easy, but it was hard as heck. It was during this point that I kept hearing something rattle in the steering box… and this would be the start of a new issue…
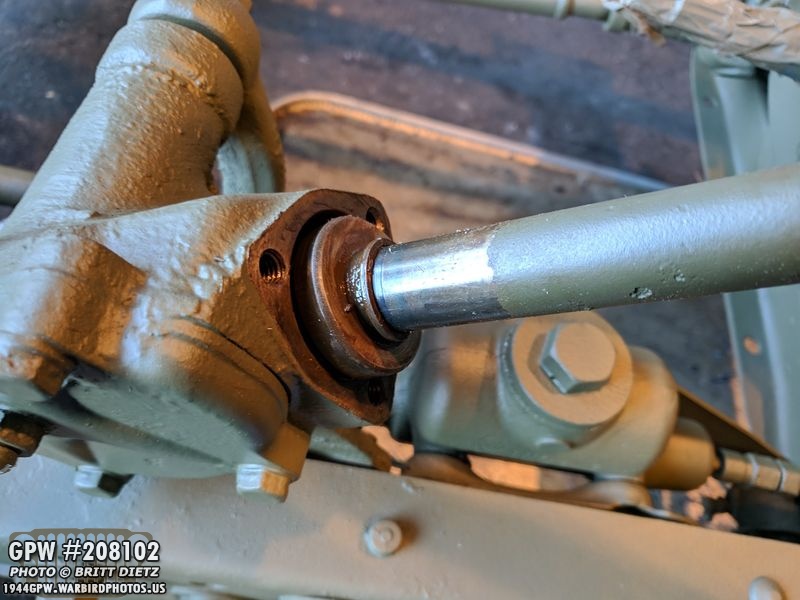
I noticed, while trying to get the horn wire worked out, that something sounded like it was rattling around in the steering box. This is an original GPW steering box. So I unscrewed the three bolts holding in the steering shaft… uh oh, the bearings at the top had come out somehow, and they were just falling lose in there. Dangit! I’ll have to open up the steering box now…
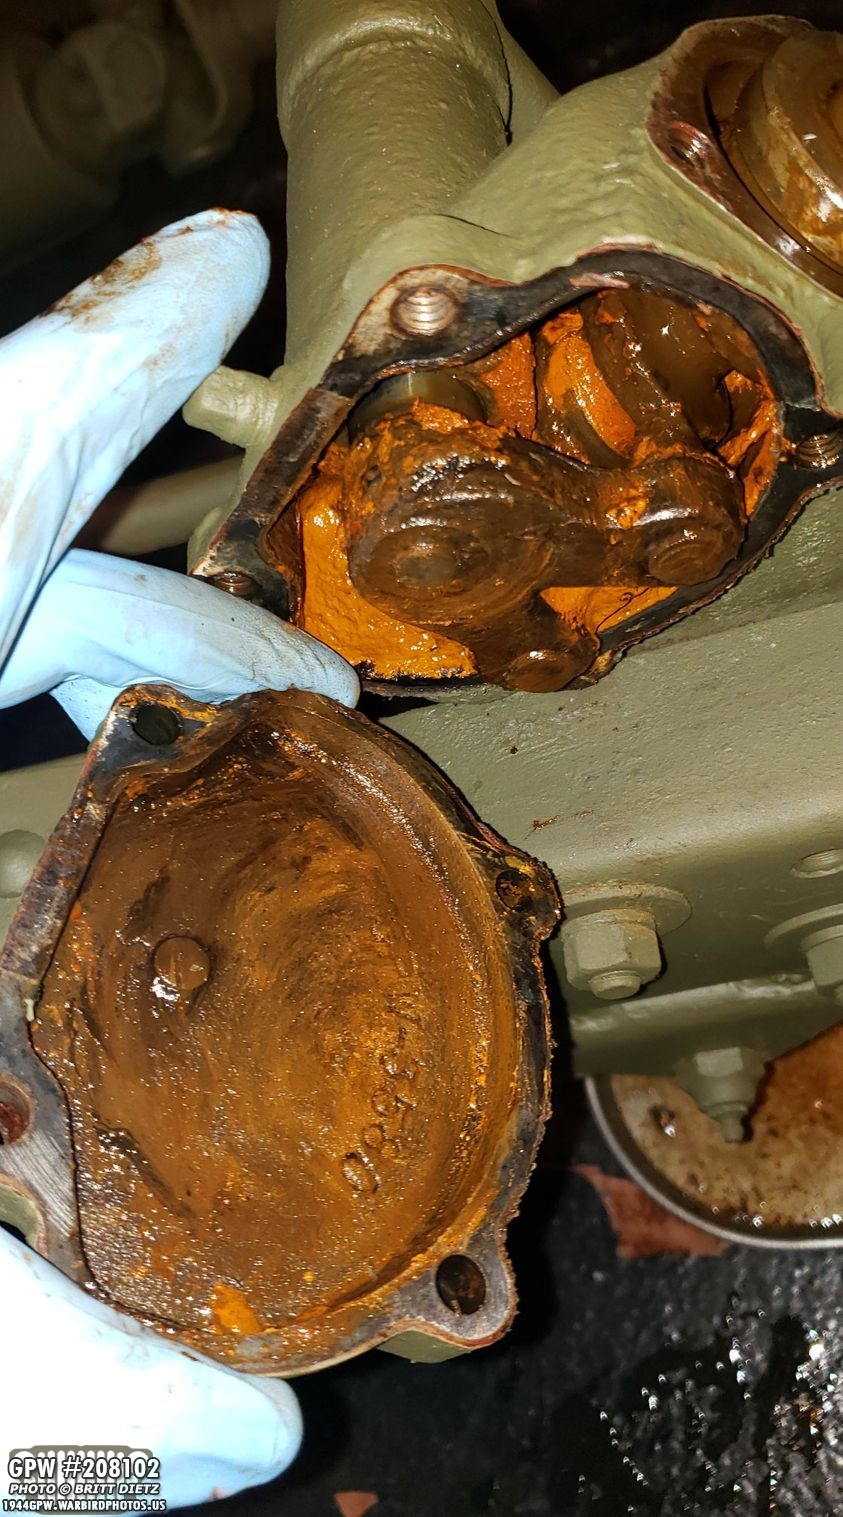
And when I did, out came a GUSHING of water and nastiness. Yuck. Apparently there was a TON of water in there. While this looks bad, it’s not nearly as bad as you might think. Most of that is just the grease and water mixed. Time to take apart the steering box.
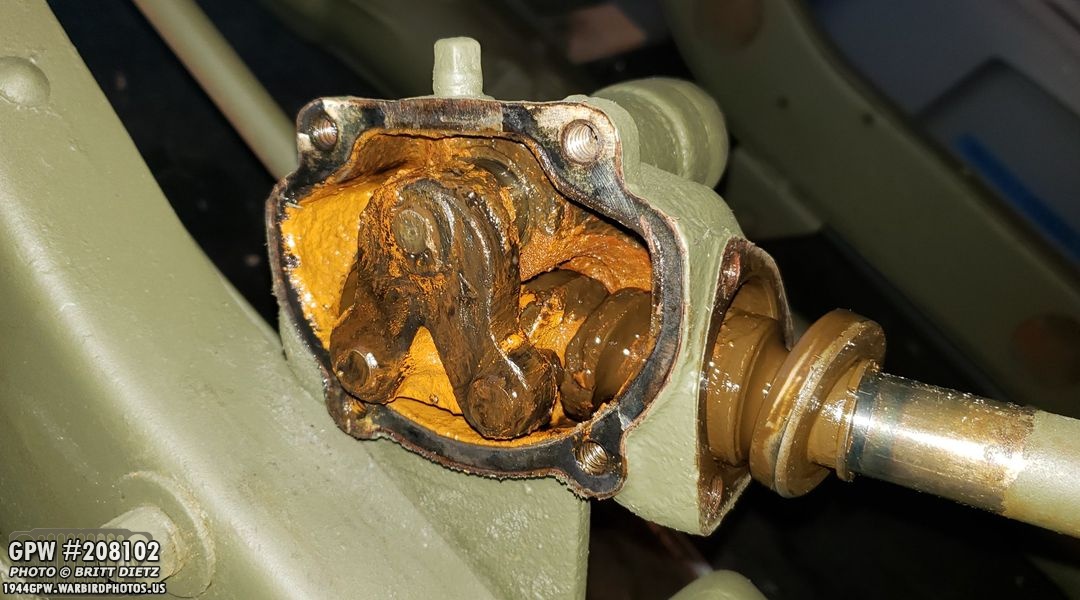
Here’s another look. Thankfully, the grease seemed to protect the metal from rust, and I lucked out having to replace the entire box. But I’ll need to take out the sector shaft that connects to the worm on the steering rod.

Steering rod and worm removed. Cleaned it up, and it looks in pretty good condition, no bad wear on it! Even some original copper plating left.

But, a slight snag… there’s some slight wear on the sector shaft. Those two little nipple parts have some flat wearing on the sides. So I’ll need to get a steering box repair kit (I’ve come full circle with the first photo in this update!)

After putting the main box through several degreaser baths and scrubbings, it’s looking pretty good.
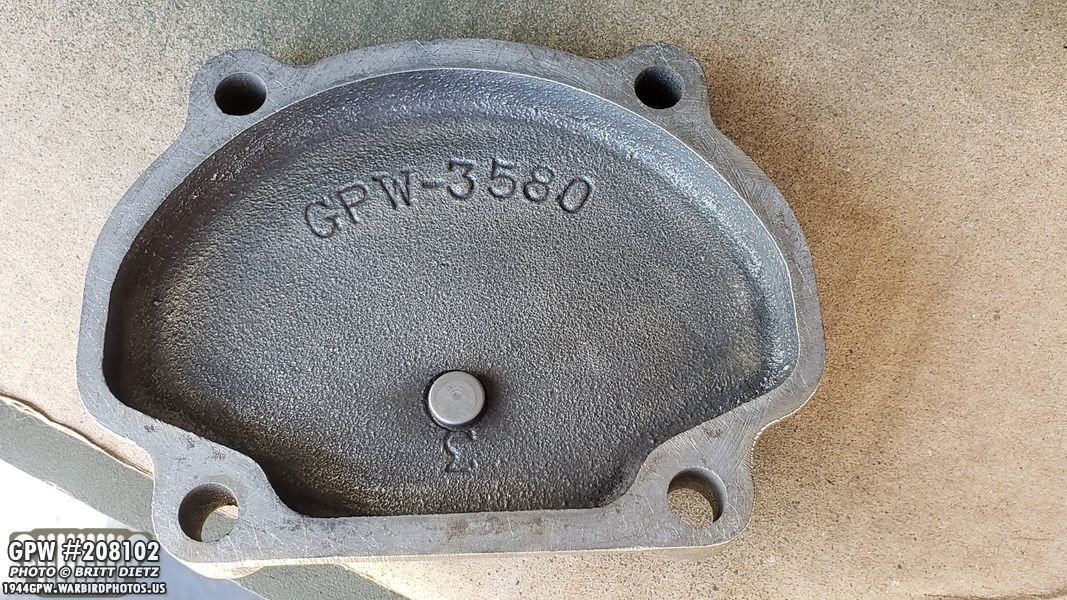
The outer plate cover I was able to clean up and put in the sandblaster, looks brand new and you can see the original Ford GPW item number.

The main box I started to wire wheel since it was a bit large and awkward to put in the sandblaster. Almost right away I revealed an amazing Ford F stamp and GPW item number.

Left is after wire wheeling best I could, and right is with red oxide primer! Looks brand new now!
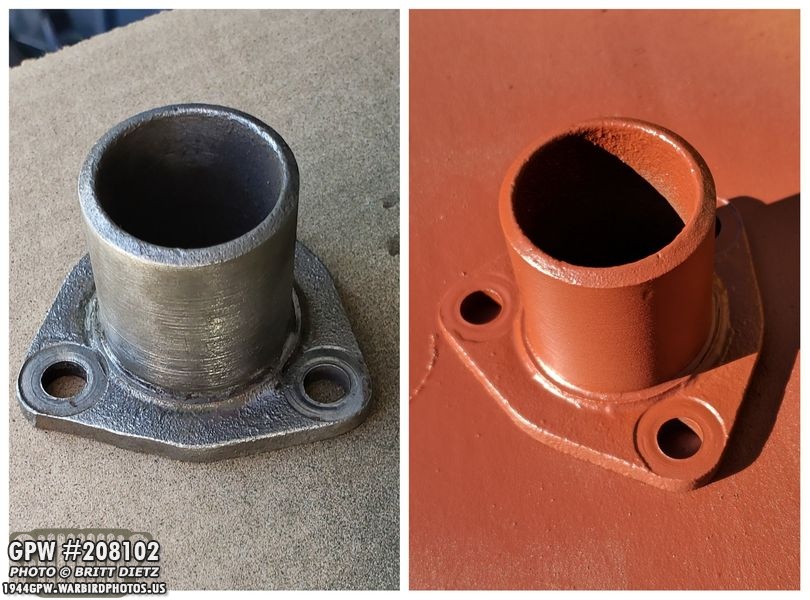
Here’s the steering box upper cover (where the steering rod goes in) after wire wheeling and red oxide primer.

And finally, here’s the outer cover plate getting red oxide primer after sandblasting and sanding. Really nice F stamp! I hit the inside of both parts of the steering box with a rust converting spray to help further protect the metal.
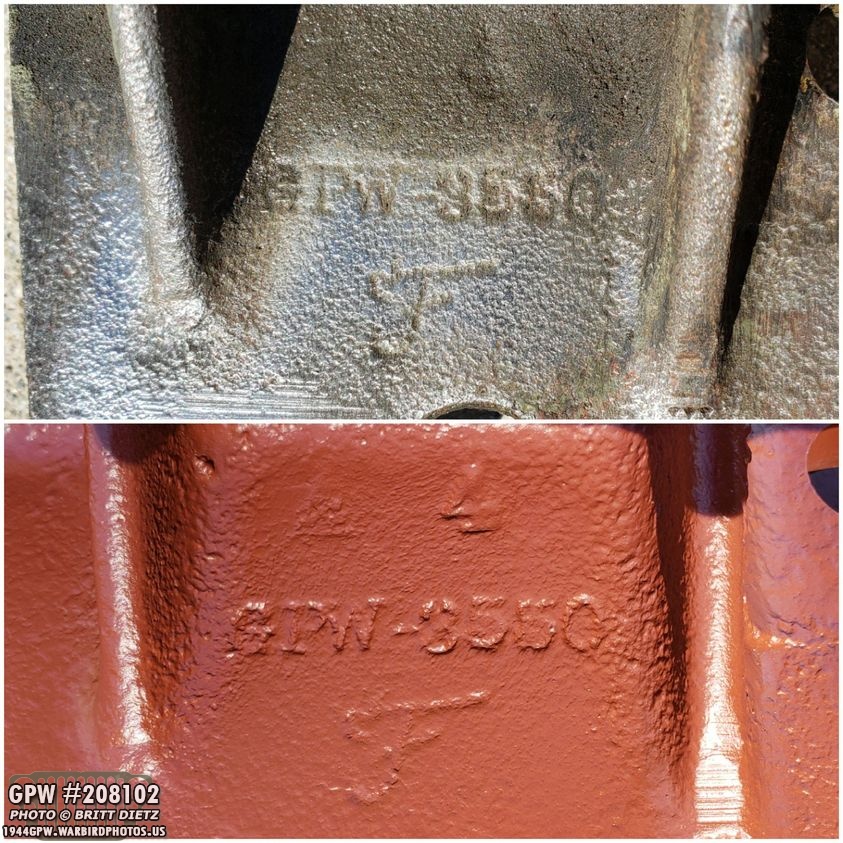
Close up of the F stamp and GPW item number on the main steering box.

Moving on, I removed the wiring harness clips from the Grill (see previous update) to paint them. I wanted to keep them silver as I liked the look, but I was reminded that they’ll rust if I don’t hit them with something. So I’ll just paint them OD Green after being primered. Then I’ll put them back on the Grill.
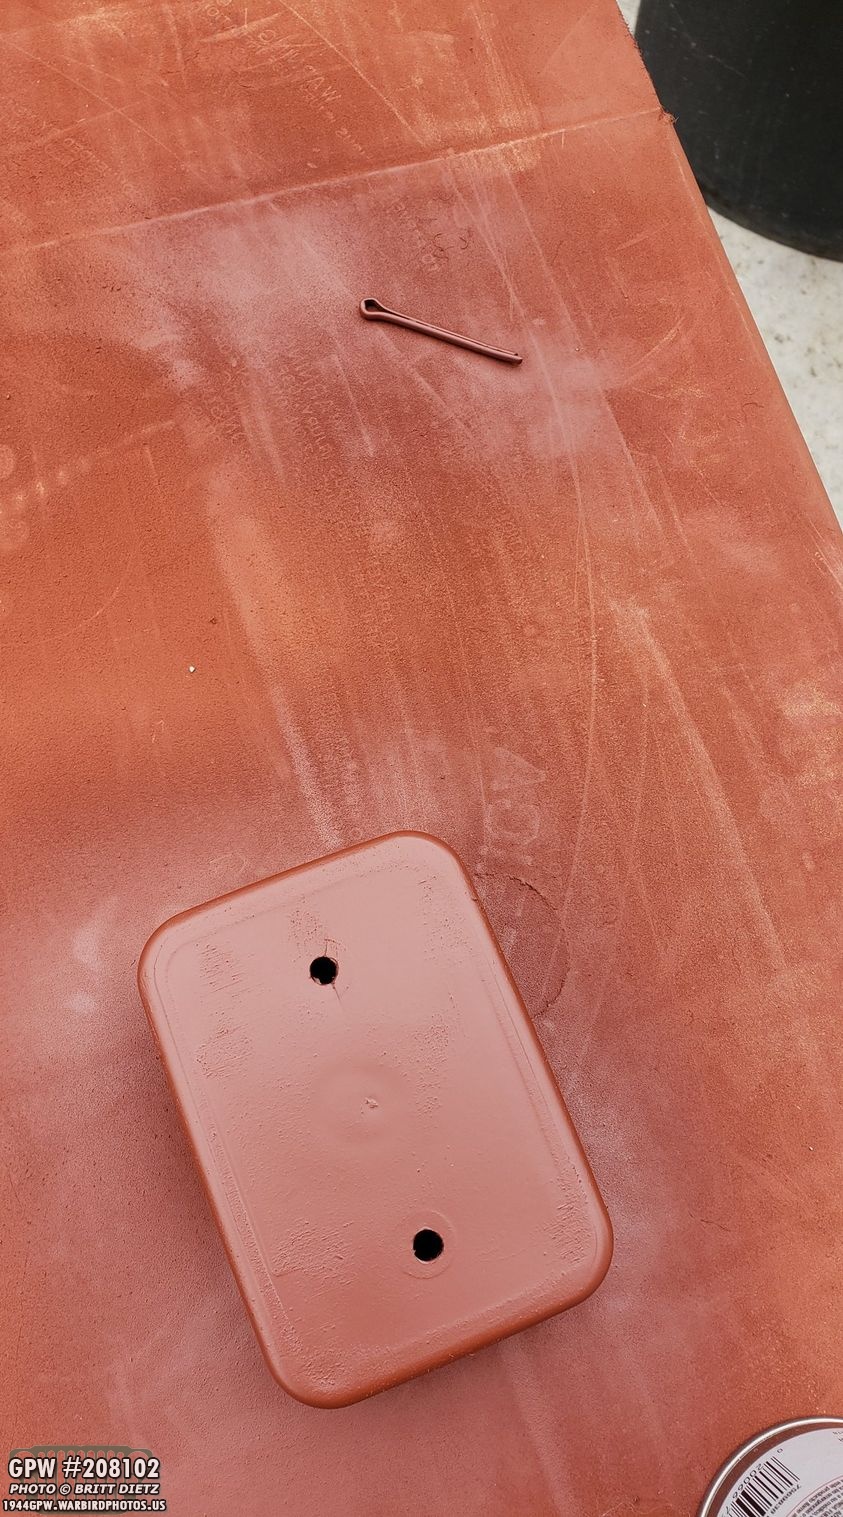
I also hit some primer on a cotter pin for the steering drag shaft to the steering arm (which I removed to take off the steering box) and my home-made make-shift filterette, which I’ll explain in a future update.

All the wheel lug nuts getting hit with primer. I was going to get brand new ones for the Jeep (10 left hand thread, 10 right hand thread), but at $2 a piece that’s $40 for the whole set. I’ll just reuse what I have and replace them in the future. Once these are painted on both sides, I can reinstall the wheels!

Finally, this isn’t my photo… but it’s a photo from D&L Bensinger Military Vehicle Parts as they unloaded their latest crate at their shop. See that big box in front on its side that says ‘Crate #17’? That’s actually my reproduction body kit! It was shipped out Tuesday of this week, so it should be heading this way slowly via freight! That’s it for now, hope for some big updates by next week!